
How to Install Shock Therapy Honda Talon Dual Rate Spring

How to Install Shock Therapy Honda Talon Dual Rate Spring Kit

When it comes to enhancing the consistency of Honda's suspension ride, a spring kit is one of the first things to mount. Shock Therapy's dual-rate spring kit is the ultimate in suspension improvement through springs. The springs with this kit are custom-tailored to your vehicle specifics. Their coil springs are made in the USA, and they’re warrantied for life. It will eliminate some of the rear buckings as well as harshness in the system.

Mitch, a lead technician at Shock Therapy, is going to show us how to install a dual-rate spring kit on a Honda Talon.
Installation was performed in the steps below.
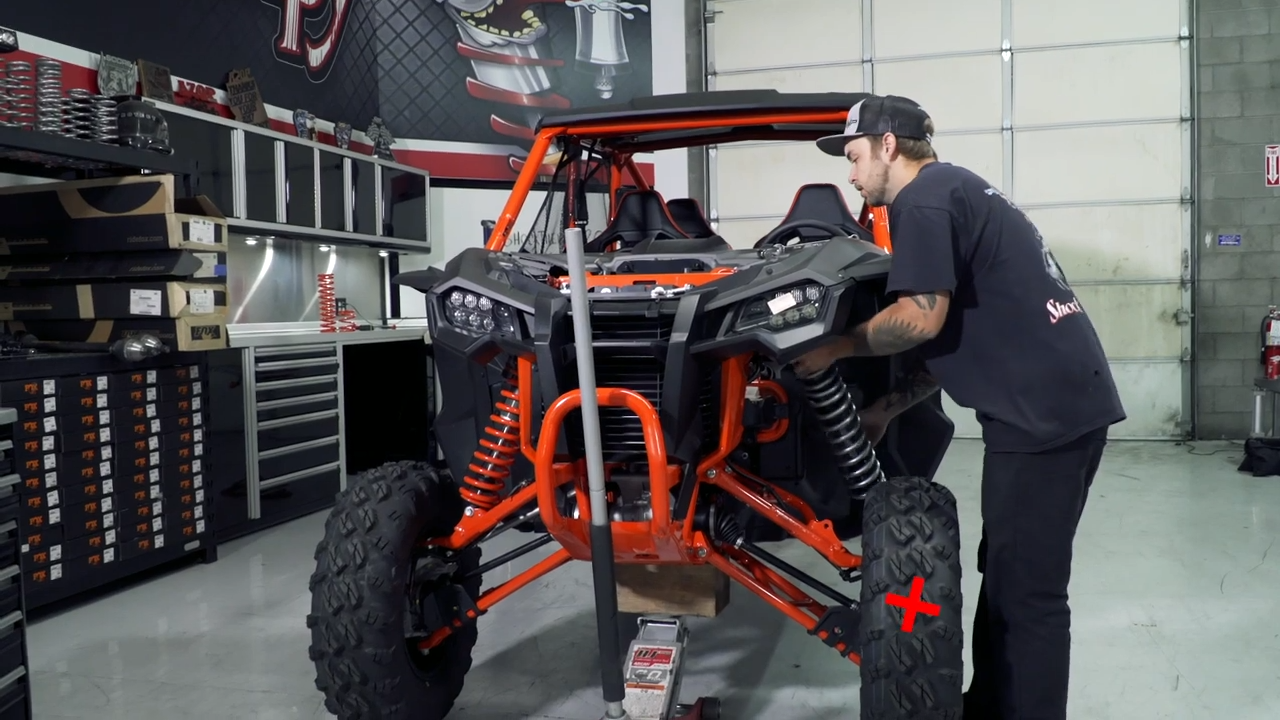
Jack Up The Front

Jack up the front of the car until it’s tires are just off the ground and always use jack stands for safety.
Unplug Wire Looms
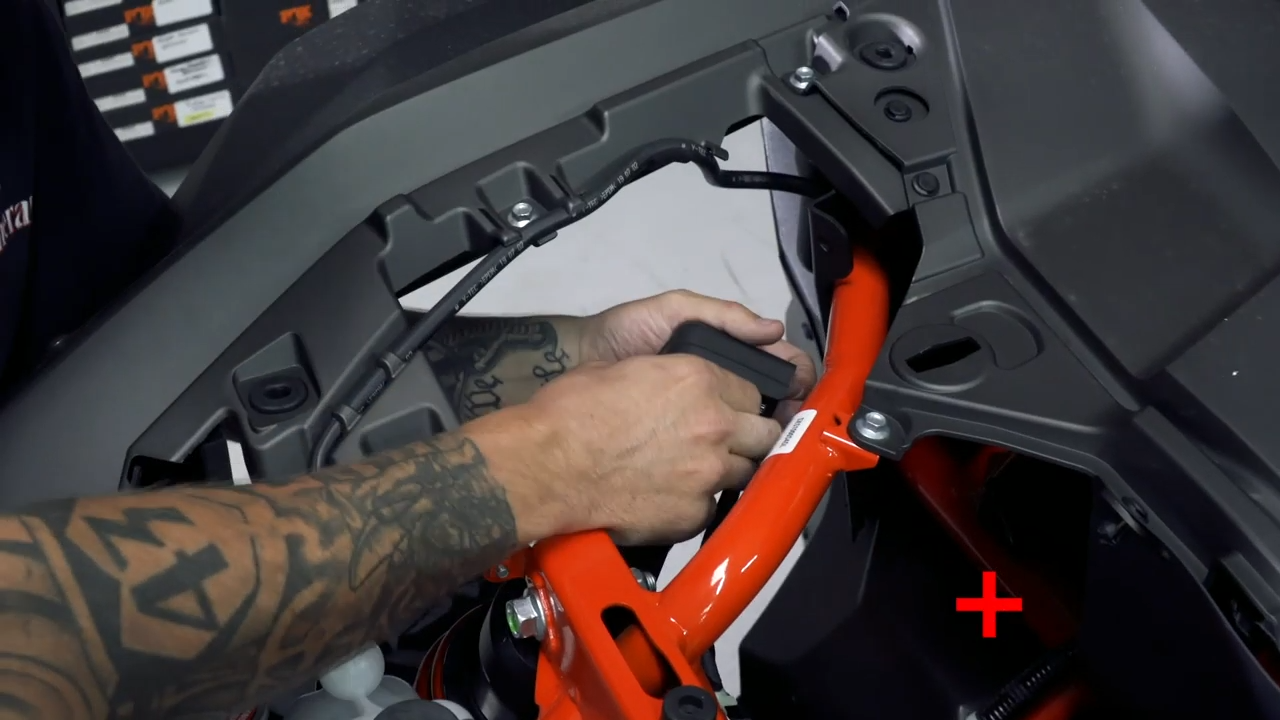
Remove the hood to get access to the top of the shocks and to unplug the wire looms from the shocks.
Remove Shock
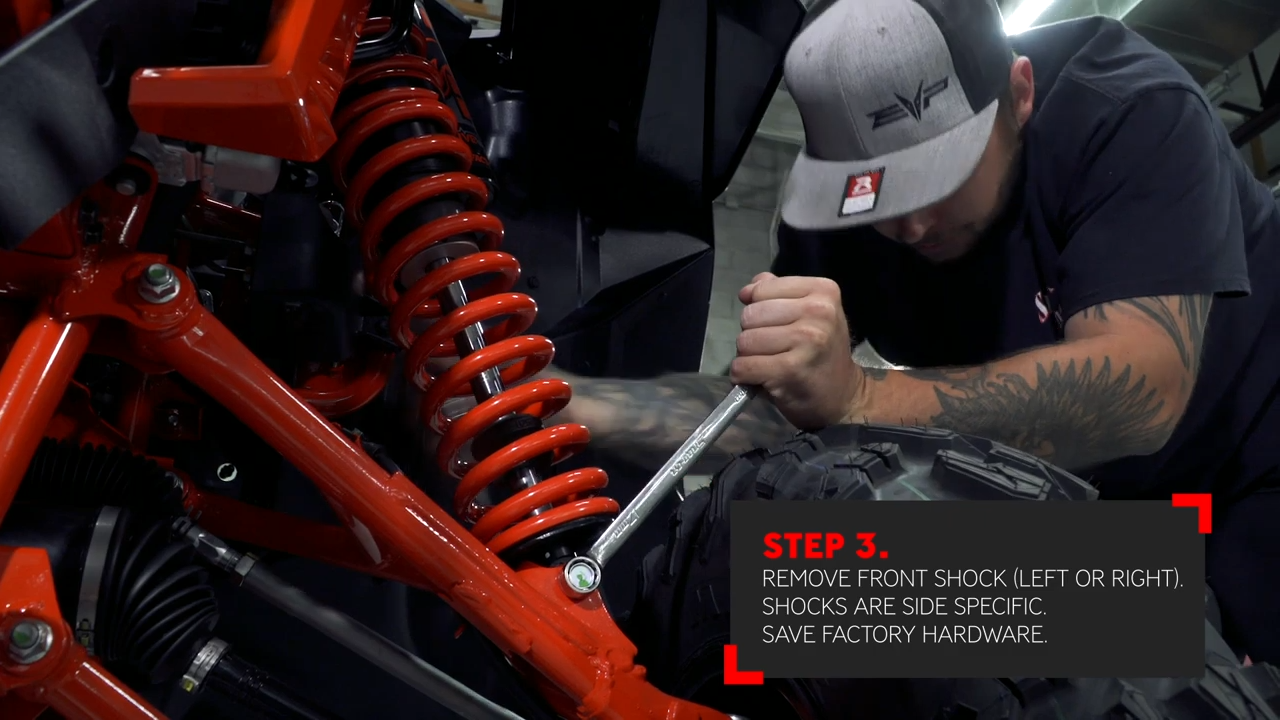
Loosen the hardware holding the shock to the car and remove the shock. Make sure that you do one shock at a time as these are site-specific and should not be swapped from left to right.
Remove Perch
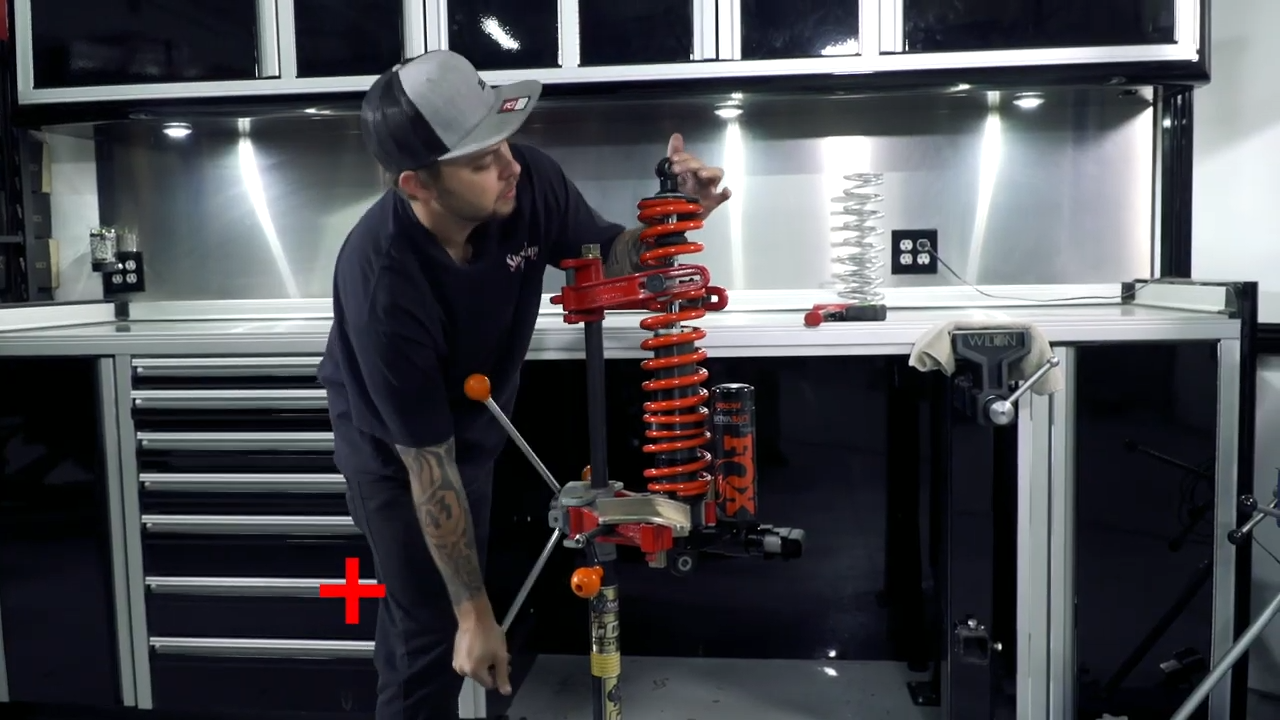
Put the shock in the spring compressor and remove the tension from the lower spring perch, remove the retaining clip from the bottom of the shock eyelet, and then remove the lower spring perch.
Remove Springs

Remove the factory springs and spring divider.
Set Preload Measurements

With the shock, knock the factory Preload collars loose in the vise. Set the new measurement of preload to two and a quarter inches (2 1⁄4”), set the cross over ring measurement to four and a half inches (4 1⁄2"), and lock all the rings in place.
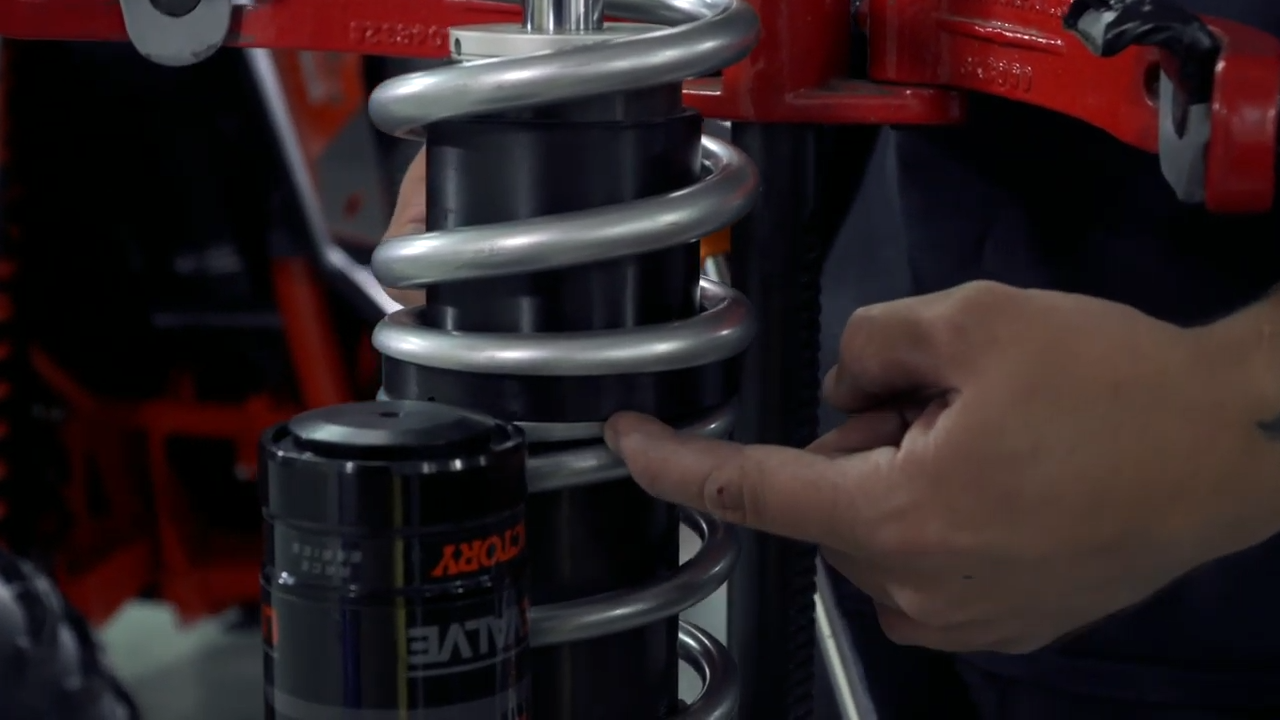
Install the Shock Therapy Springs
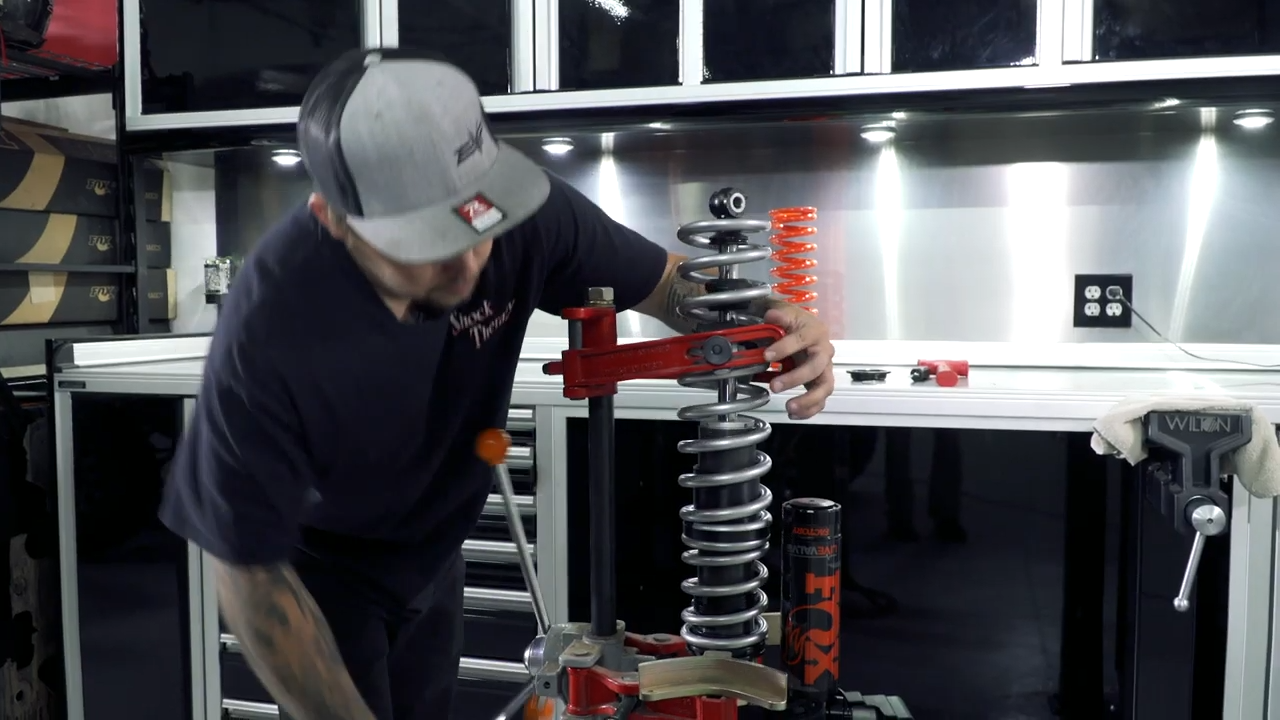
First, install the upper spring that comes with the spring kit then mount the factory spring divider with the long end facing the shock bottom and then install the lower spring. Make sure the ends of the springs touch the spring divider on the opposite sides from each other, thus keeping the spring divider as straight as possible and eliminating rubbing as well.
Install Perch

Compress the springs and install a lower spring perch, and do not forget to install the retaining clip of the lower spring perch. Slowly release pressure so you precisely line up the spring perch on the clip.
Reinstall The Shock
Install the shock back on the vehicle. Keep the hardware loose so that it can be easier to change the height of the ride afterward by removing the shock from the vehicle.
Lower Down The Car
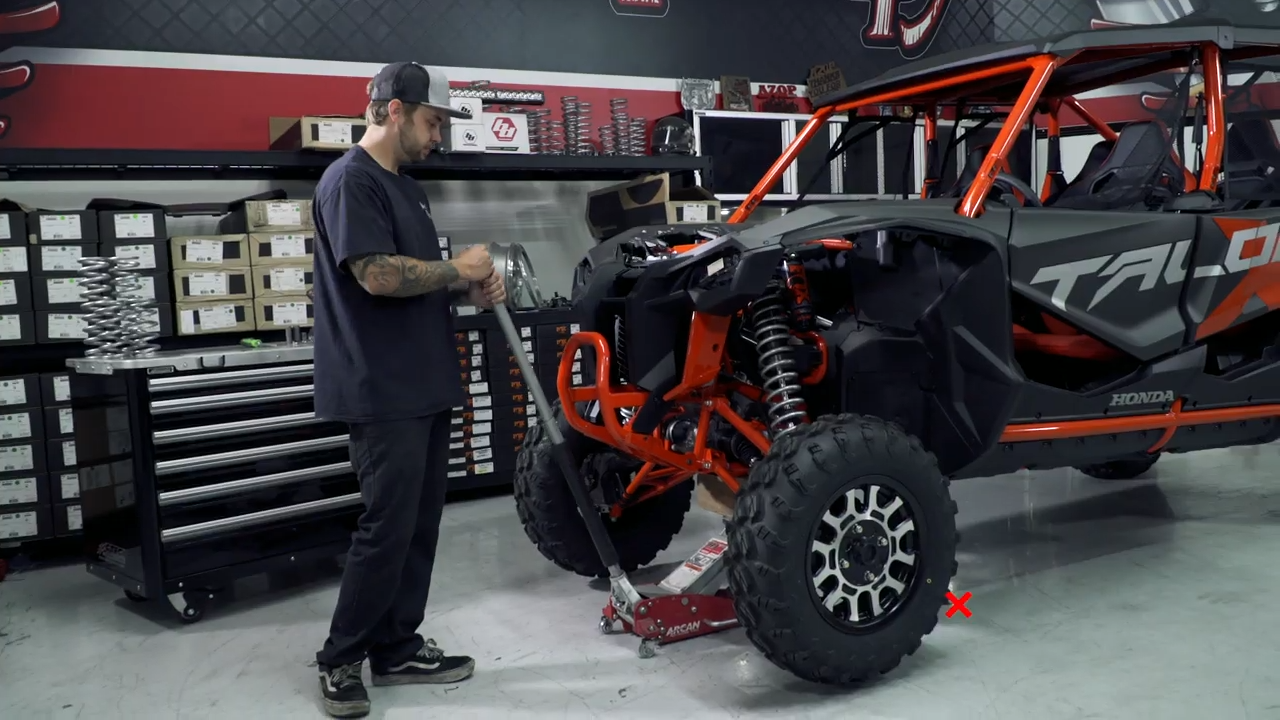
Once all the shocks are mounted on the front, don't forget to plug in the factory shock loom, then remove the jack stands and drop the car back down.
Repeat the steps on other sides.
Settle Suspension

Settle the suspension after all the shocks have been mounted; you can't do it by jumping up and down on the car you have to drive it back and forth, or perhaps around the block to settle it properly and keep in mind if you're trying to settle the car, and the shocks are extremely stiff, it would be because you didn't plug the factory loom into the shock, so make sure they 're plugged in.
When the suspension has been settled make sure you stop for the final time without touching the brakes.
Measure Ride Height
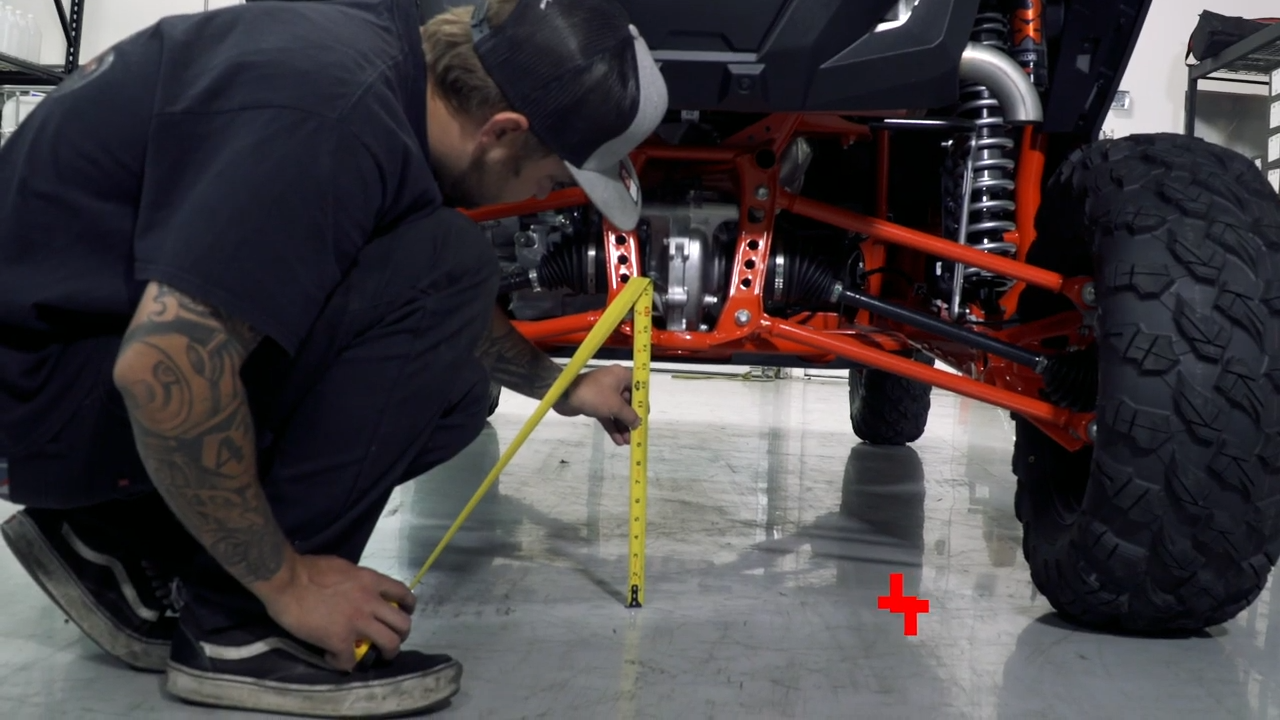
Measure the front ride height from the lower control arm mount (With the driver in UTV), the front of the car will be fourteen inches (14”) off the level. Measure the height of the rear ride (With the driver in UTV) from the mount of the rear control arm, the rear of the car will reach 13 and a half inches (13 1⁄2”) from the ground to the bottom of the chassis at the mount of the control arm.

Once you have set the ride height correctly, then check the crossover rings location. In the front of the car, it should be approximately one and a half inches (1 ½”), and in the rear of the car, the gap between the cross of a ring and plastic divider should be approximately
two and a half inches (2 ½”).
Wrapping Up
Tighten all the car's hardware and double-check that all the looms are plugged back into the shocks. Once the hardware is tightened you can put the hood back on the vehicle, and your installation is now complete.
Note
Another thing to keep in mind is that all their coil springs are brand new which means they will take between 100 and 300 miles to settle in. After that, the springs will need to be readjusted. Once settled and readjusted, the Shock Therapy springs will hold their height for the lifetime of your Talon.

Another thing to keep in mind is that any time you add more accessories to your Talon, it adds extra weight and the springs might need to be readjusted.


