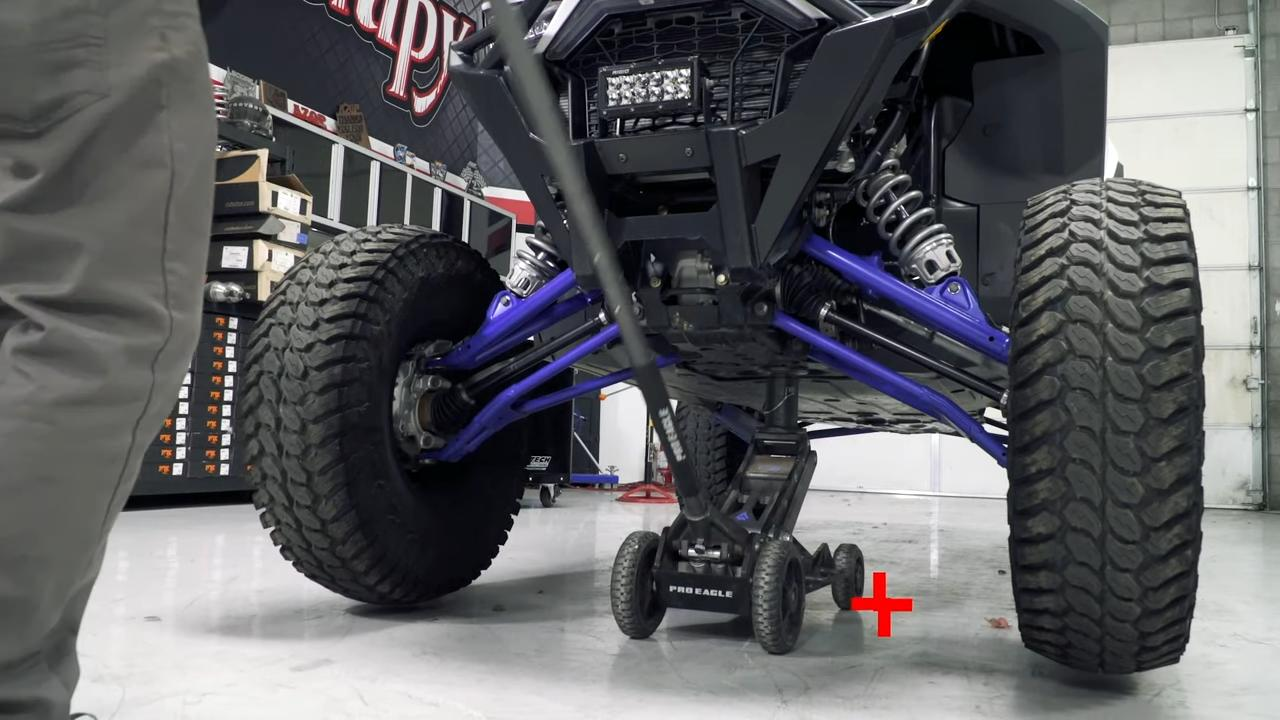
How To Install Shock Therapy RZR Pro XP Front Limit Straps
How To Install Shock Therapy RZR Pro XP Front Limit Straps
Finally, there’s a cure for the front end clunk sound from the Polaris RZR XP Pro Shock Therapy Limit Strap Kits! As most people know, the shocks can make a loud clunk that feels like a hammer against the chassis at full extension. If you run aftermarket, heavier wheels, and tires, this clunk gets much worse. Although the shocks have extension stops internally, the tuning is by the factory wheel and tire weight. They can't manage changes in the system. Due to this setup, a front end clunk has become the new normal in UTV's. Well, not anymore. Shock Therapy’s new limit strap kit stops the front end clunk instantly.
- Shock Therapy Pro XP Front Limit Strap Kit (2-Seat w/ Walker Evans)
- Shock Therapy Pro XP Front Limit Strap Kit (4-Seat w/ Walker Evans)
Mitch, a Tead Technician at Shock Therapy, explains how to install a dual-rate spring kit on a Polaris RZR Pro XP.
Complete the installation yourself using the following steps below.
Jack Up the Car
Jack the car to the point that the tires are right off the ground. Remember to always use jack stands for safety.
Remove Shock
Unplug the factory shock looms from the shock. Remove the shock from the car. Begin with the lower hardware first. Then switch to the upper hardware. Make sure to do one shock at a time. They are site-specific, and you can't swap them from left to right.
Install Clamp
Install the billet limit strap clamp onto the shock frame. Ensure the clamp mounting hole faces the rear of the shock located on the side of the shock firewall. Make sure you lock the clamp to the spot where the mounting hole is in line with the upper shock bolt. When tightening the lock, make sure it's as high on the shock as it can be mounted. Make sure it's positioned on the shock bridge about one inch above the shock 's eye. Make sure the gap on both sides of the clamp is equal when tightening the clamp bolts.
Install Clevis
Install the adjustable clevis. The aluminum clamp should have a star washer on either side. Start with the clevis adjusted to the point that the top clevis bolt displays no threads.
Install Limit Strap
Use red Loctite to install the limit strap with the shoulder bolt provided. Use the end of the limit strap with the larger diameter hole to mount it to the clevis bolt.
Adjust the Limit Strap Length
Adjust the static limit strap length to an inch and a half from hole to hole. Measure the bottom of the strap to the bottom of the shock hole. Once mounted, the brace should extend to a quarter-inch shorter than the full length of the shock. Tighten the adjustable clevis hardware, so the clevis and strap are straight when in line with the shock.
Install Shock
Install the shock back on the vehicle. Start with the upper shock bolt first. Then install the bottom shock mount on the control arm. Use the supplied longer bolt and stainless steel spacer. Mount the bolt to the hardware from the front. Slide the spacer from the rear over the bolt. At this point, thread the nut onto the bolt. You don’t want to lose the spacer for the next step. Do not install the strap at this point.
Plug the Wiring Loom
Do not forget to plug in the shock wiring loom when you install the shocks on the vehicle.
Repeat the steps on the opposite side.
Settle the Suspension
Lower the car back onto the ground. Remove the jack stands. Settle the suspension by driving the car back and forth.
Install Limit Strap
Install the limit strap onto the lower hardware. Install the straps onto the lower bolts. Do not tighten the hardware at this point. Jack up the car's front end again. Now, tighten the lower hardware as it will be perfectly straight with the limit strap assembly. Then drop the car down for the final time and settle the suspension again.
Wrapping Up
Choose the coil spring on the limit strap nearest to the tether. Wrap the tether around the coil spring and through the buckle. You should have about one to two inches of slack between the strap and the coil spring. Cut off any excess strap material at this time. Your installation is now complete with the tethers in place.


