
How to Install XTC RZR XP Turbo Turn Signal System

How to Install XTC RZR XP Turbo Turn Signal System
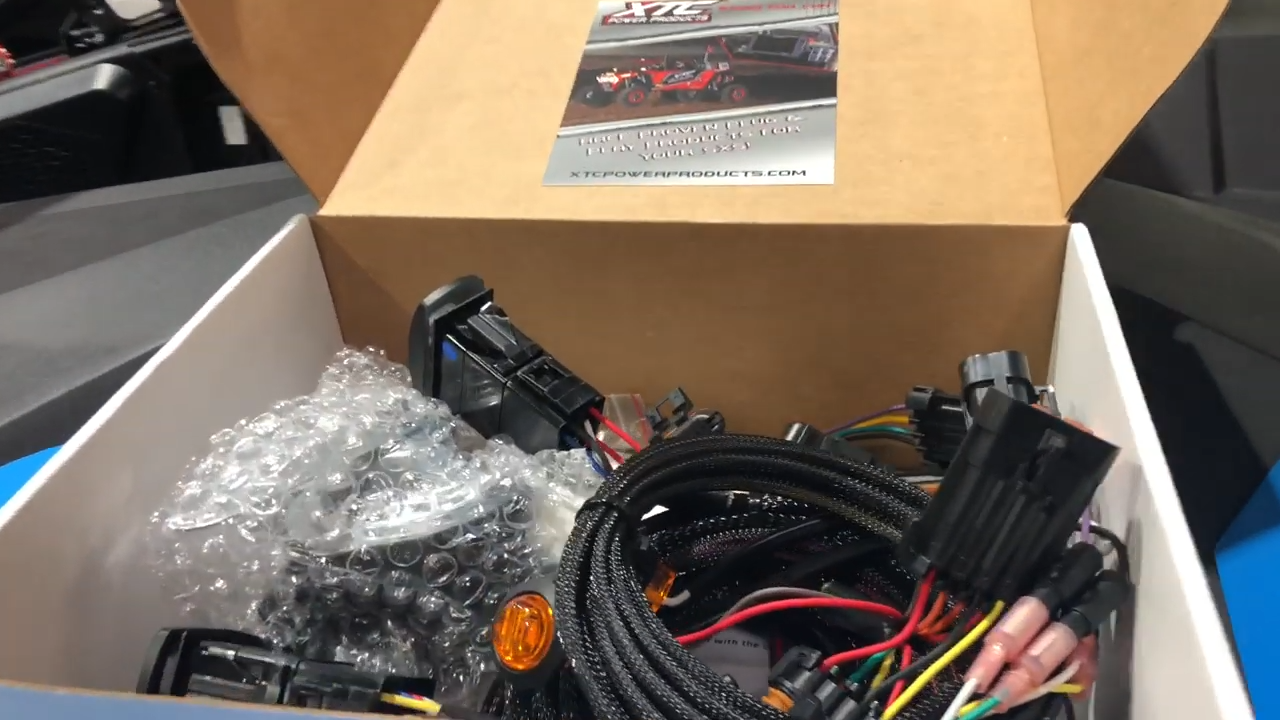
In UTV Wiring Solutions, XTC Power Products leads the way. The TSS-Turn Signal System(Patent Pending) comes from its Plug & Play Product line.The machine comes with a marine switch that activates the turn signal mechanism and a blinking arrow that signals it. With no wires to be cut and no crimping, installation is simple. The device comes with pre-made wire harnesses that interface with the OEM harness, unplug the backlight harness connector of the car, and plug-in our harness, it's that easy. The brake lights operate much like a car turn signals, including Hazard Lights. Since these vehicles are primarily used for off-road use, the lit dash switch is more practical than the bulky turning levers which break off. It includes a lit Hazard Switch and rear power out to light or whip light on the license plate.
- XTC 2019 RZR/Turbo S Front Turn Fang Light Set
- XTC RZR Turbo S & 19 RZR XP Models w/ 3rd Brake Light - Plug & Play Turn Signal System w/ Horn
We'll show you how to mount the street-legal XTC power products kit for the Polaris 2020 Razor. This kit works on all of Polaris Razors 2016 and up. This kit works on all 2016 and up Polaris Razors. It includes the signals it includes a horn. It's all you need to make your vehicle street-legal depending on your state, so let's test it out, we'll show you how this installs.
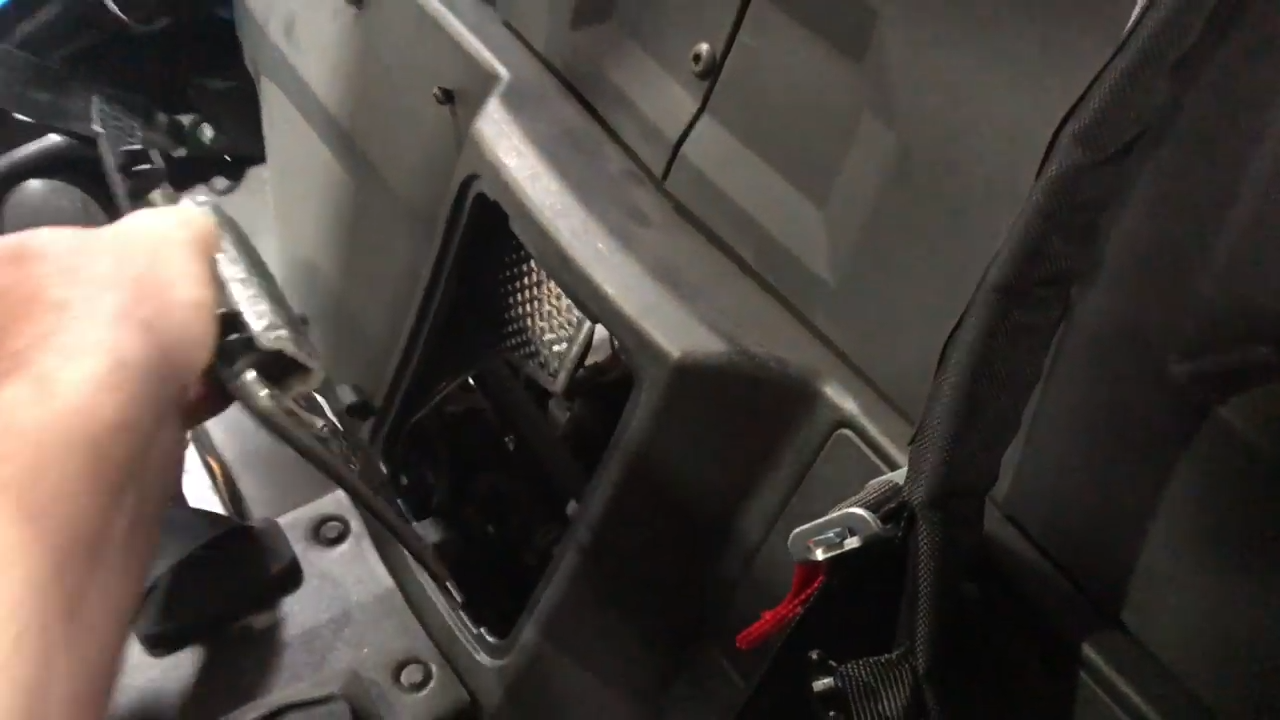
Remove the Dash Cover

The first thing to do is to remove the top front dash cover, which helps you to get inside and install the switch system for XTC power products.
Run the Wires

Mount the wires to the cross member. When installed, start running some of the wires. Run the wires from the back to the front by tapping into the section of rear taillight. This is an easy plug-and-play for the factory position. This kit also has the system to plug into for the rear license plate, so plug it in.

Zip tie the wires up. Run along with some existing hoses and wires all the way and push it through the firewall.
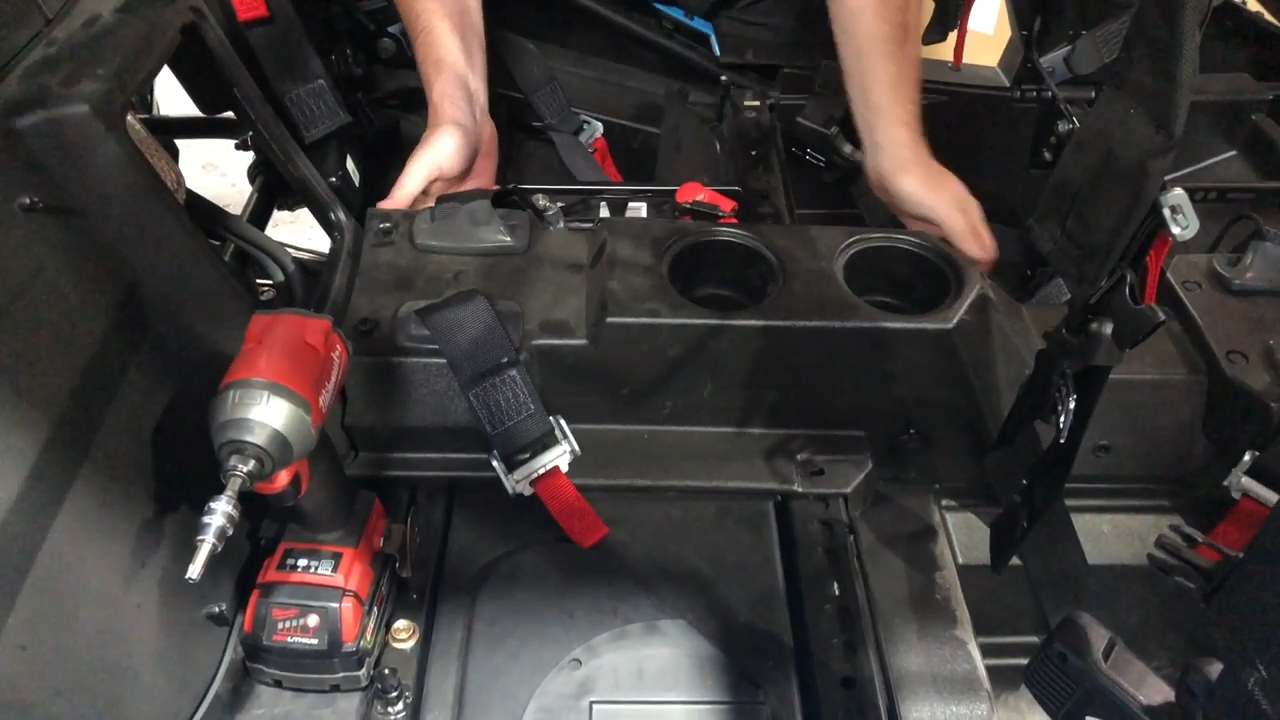
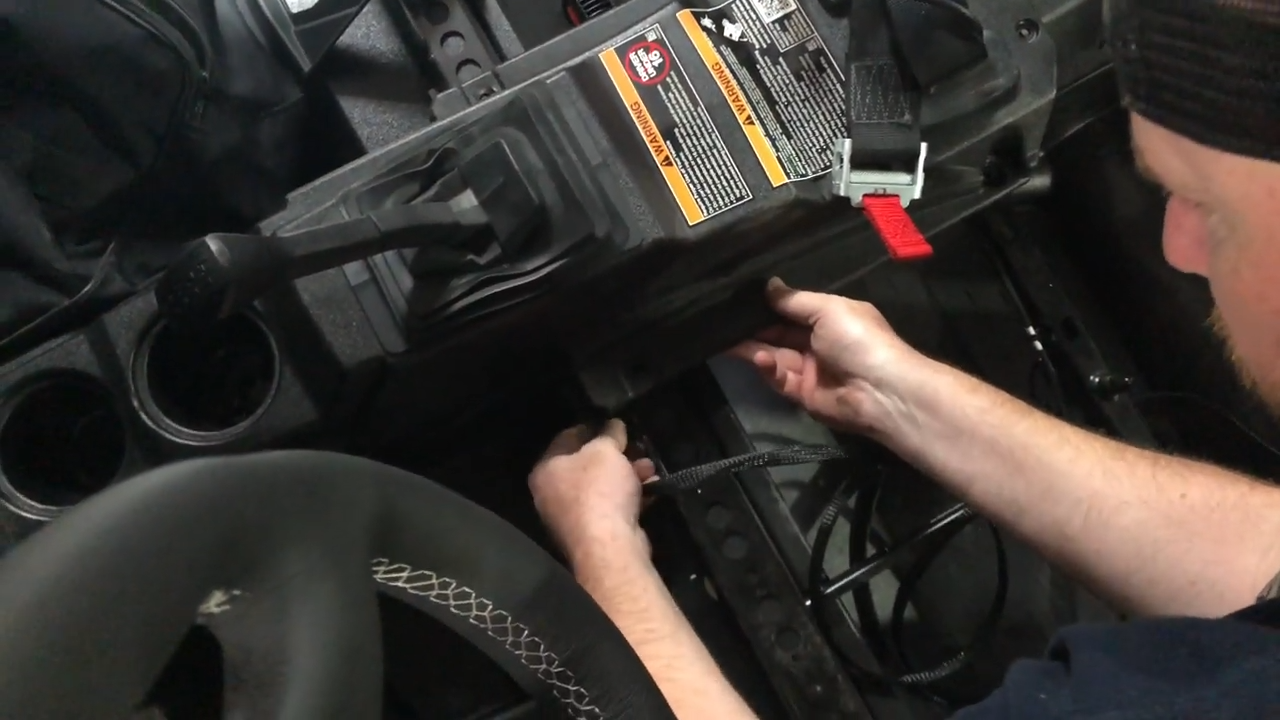
Open up the rear center console to run the lines. Remove the entire center console to tuck the wires underneath. Once that's done, everything will be put neatly, and harnesses or wires will not be seen. All these come out with some push clips and a few Torx screws. Only loosen those up and lift them up easily on the tunnel.
Now pull the wires through the firewall. They easily get through that area and then tuck them all the way up from the front to the front of the tunnel.
Now start running it up to the top of the dash where switch control is mounted.
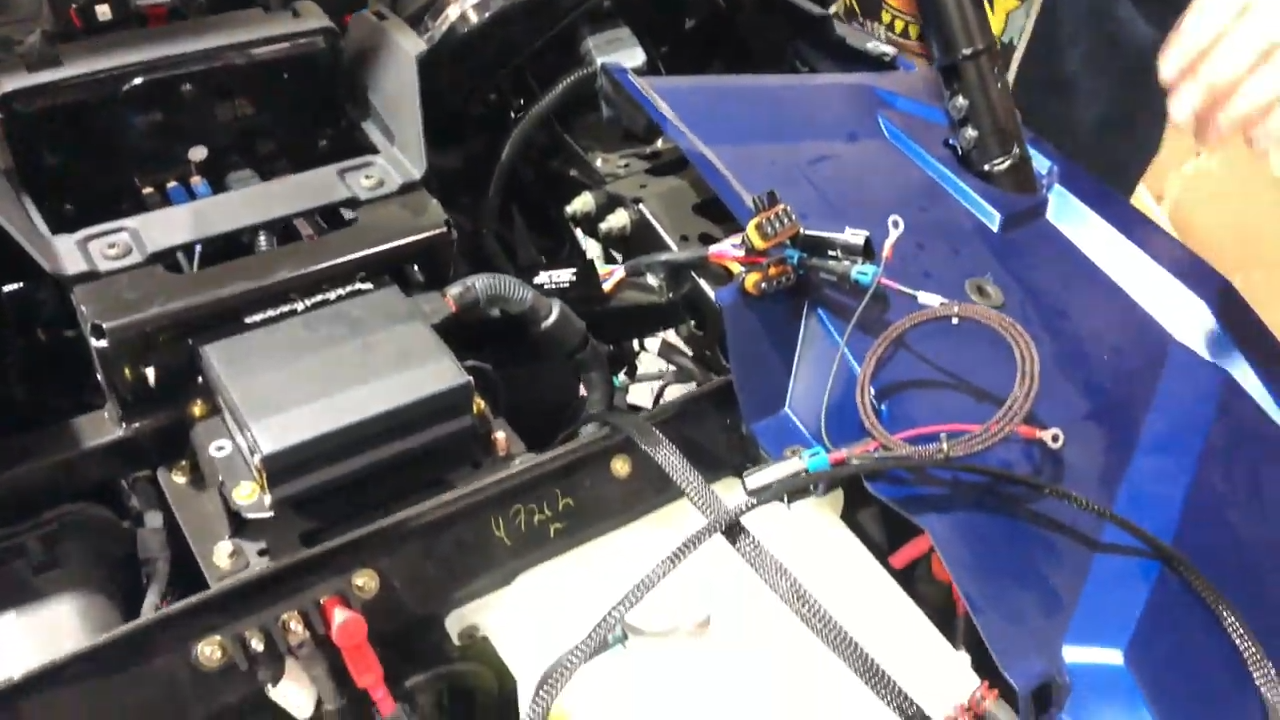
When it’s all done now, it's time to zip tie that up. Tuck it right under the dash and plug the two big clips in, and that part from the back to the front is all complete.

Install Turn Signals
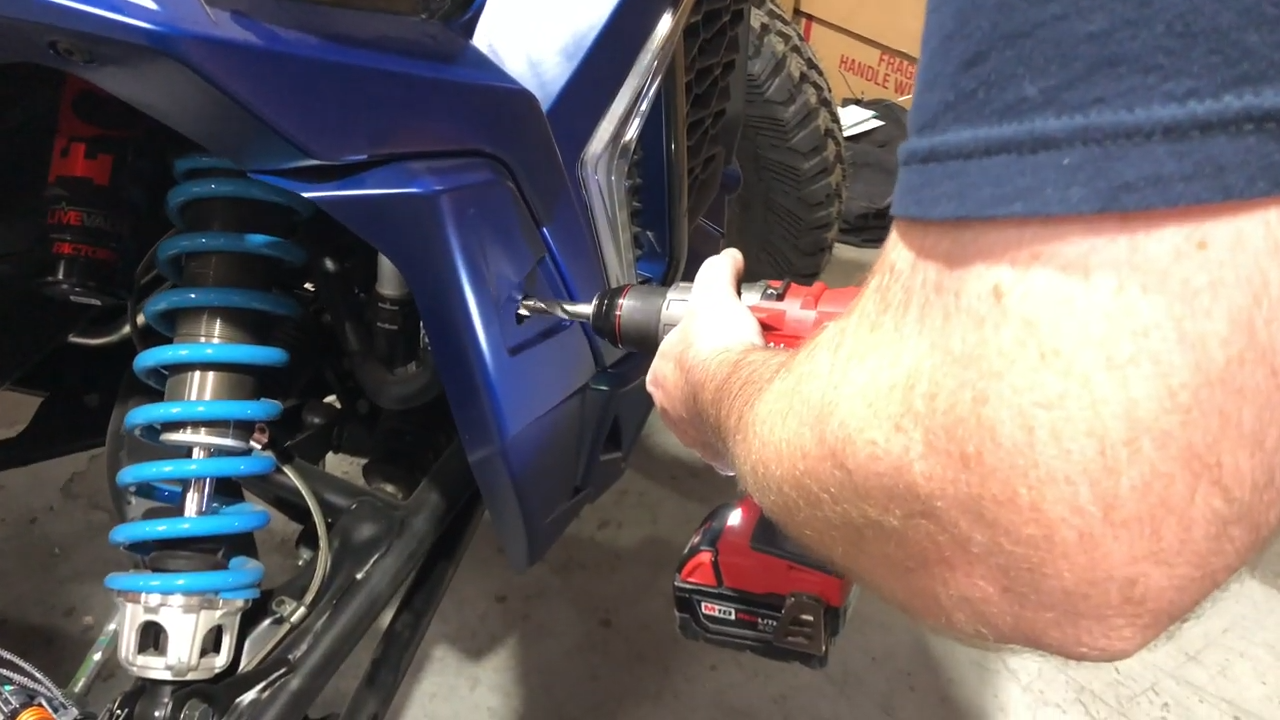
Now work on the front so drill for turn signals in the corner markers. Once the right size hole has been drilled, the lights are forced in, and now there is a spot to switch signal lights in.
Wiring Turn Signals
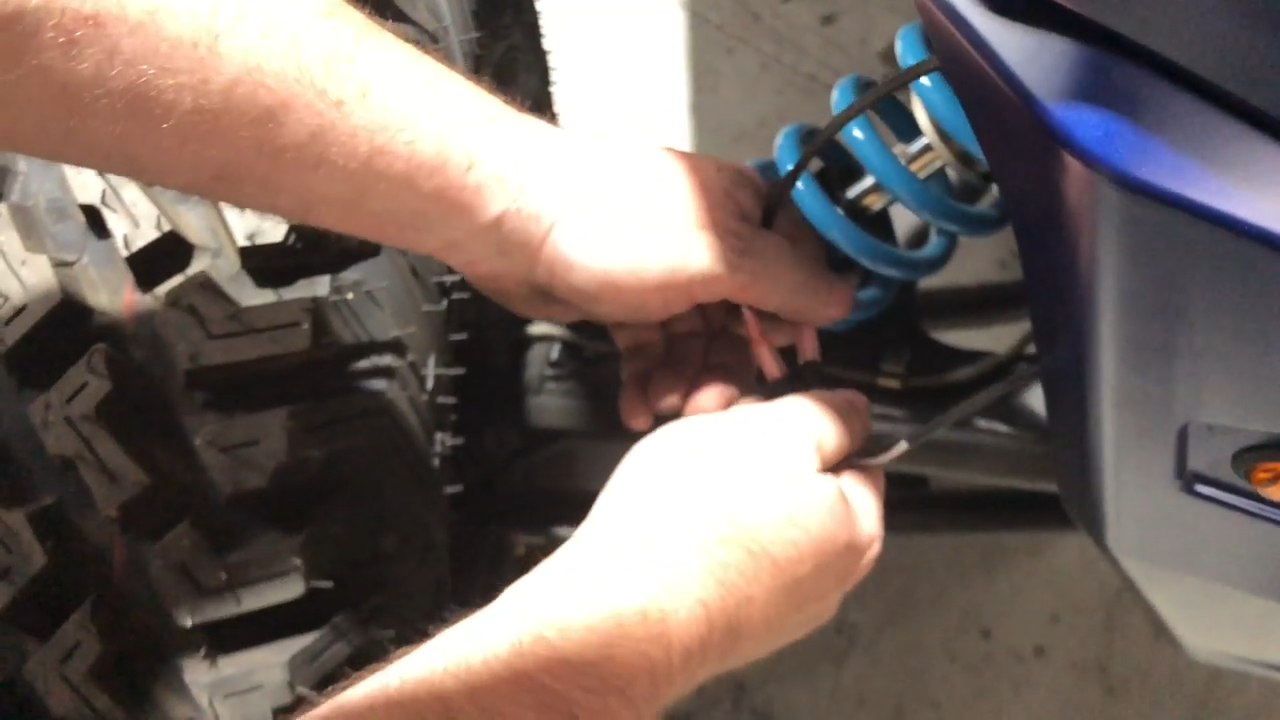
Now it's time to wire turn signals. Also, this is a simple plug-and-play. Simply connect it, then separate each wire to either side of the front bumper and zip tie it in place.
Putting in Switches
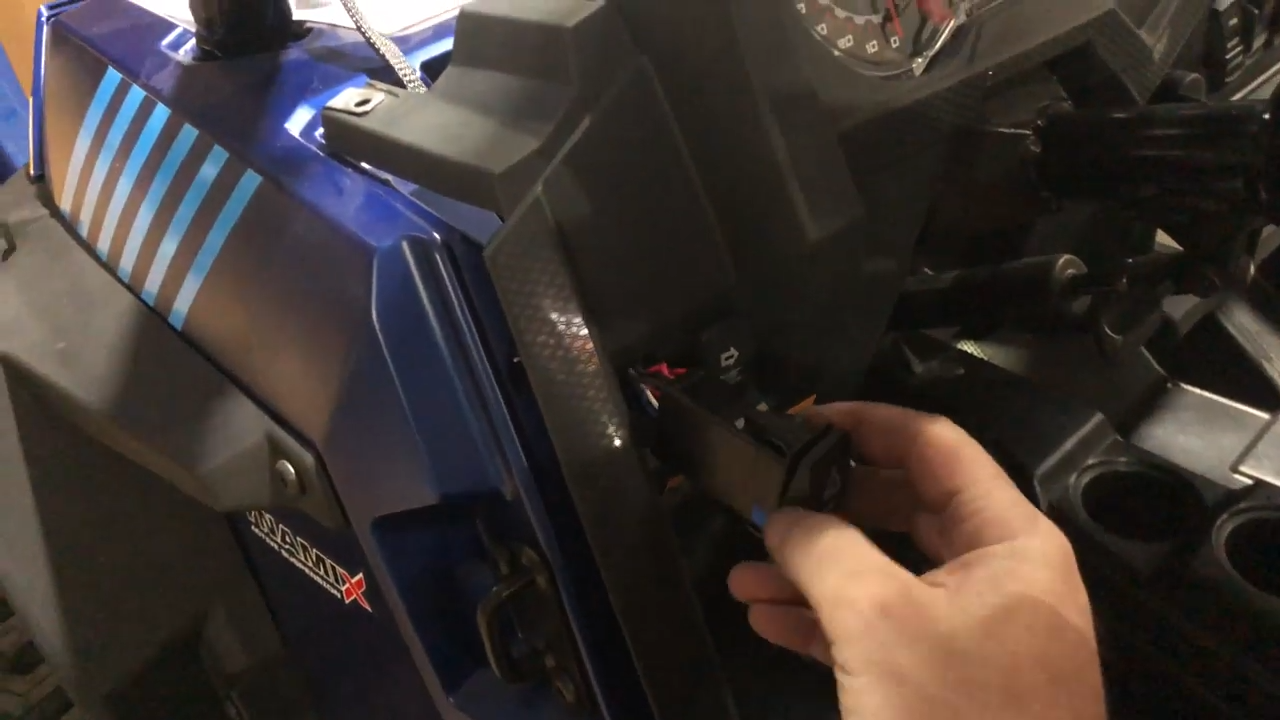
Place the switches in now. Cut the dash spots on the Turbo S. With razor blade, cutting them is easy. Run the switch right through there. To attach it, take the plug and it pops upright in place.
Installing Horn
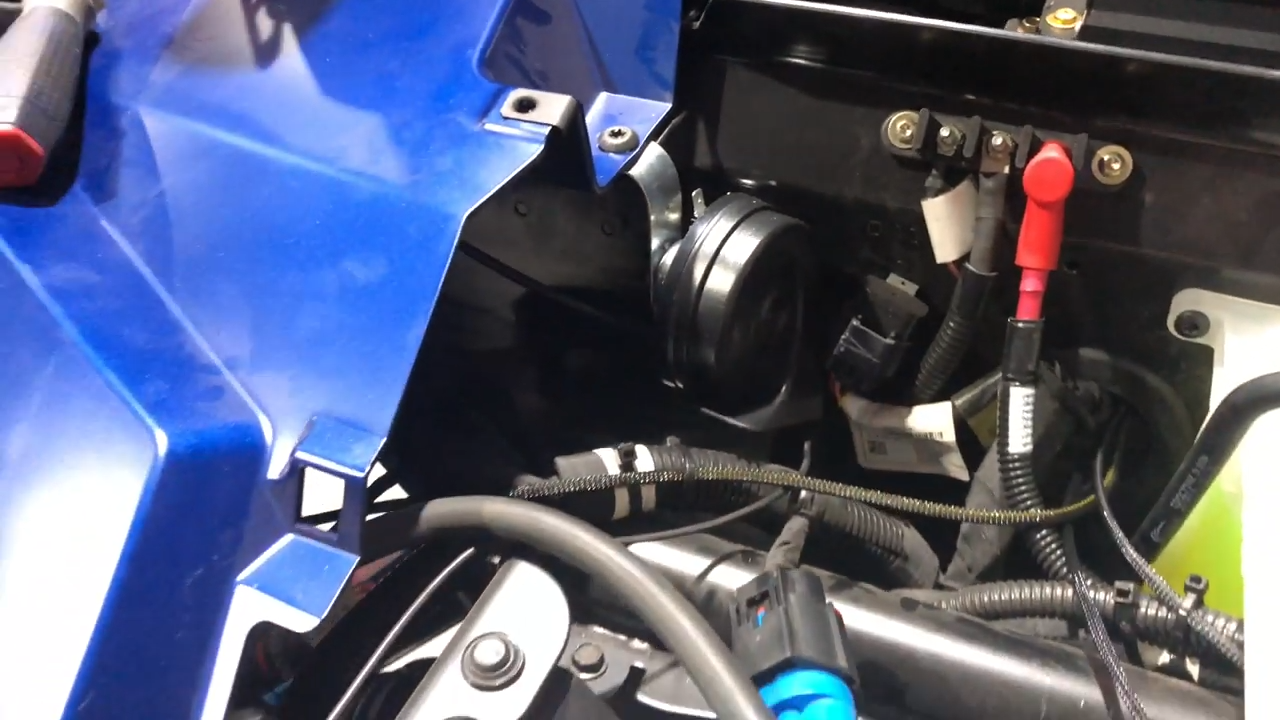
Now it's time to set the horn up. The horn comes with a bracket that can be mounted to fit the horn in position and bend down easily.
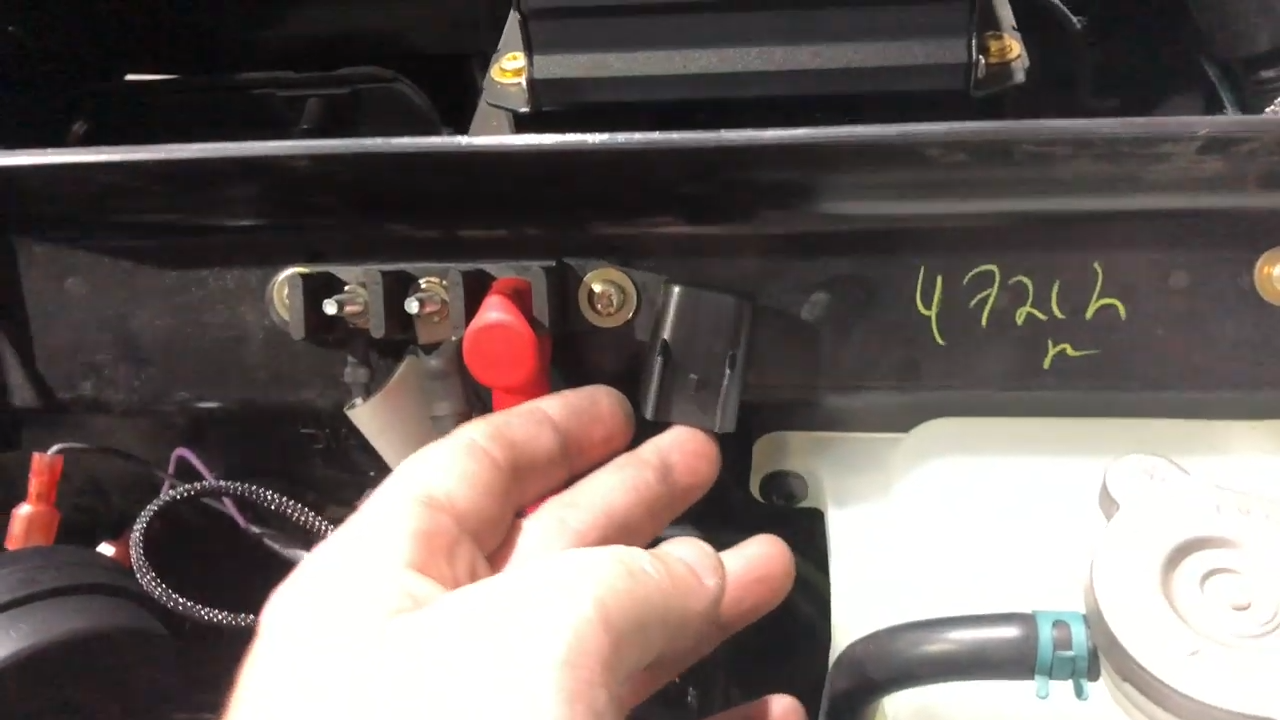
Connect the harness system's closed-loop plug and then connect the ground and control wires.
Your XTC RZR Turn Signal Kit is now installed!


 With the Shock Therapy STS Tune")


