
Install Overview | Installing the CanAm Maverick X3 MBRP

How To Install MBRP Dual-Out Active Exhaust On CanAm X3
The MBRP Dual-Out Active Exhaust system has been designed to allow for a simple bolt-on install that can be completed quickly and easily with basic hand tools. The kit is made of T-304 stainless steel for corrosion-resistance and long-term durability. This construction also makes it lighter than the factory exhaust for a 2.5lb weight savings. Carbon fiber tips increase the kits good looks while the improved exhaust flow coming from them helps to increase overall horsepower. While all these features make for a great upgrade over your factory setup, the MBRP-engineered sound is the major talking point here.
What makes this “active" exhaust so special is that the kit features a solenoid valve that allows you to choose between two completely different exhaust notes best described as “moderate” and “aggressive”. With the flip of a switch, you can go from a slightly more present than stock sound to an all-out roar that lets your machine breathe to its full potential. This feature gives you the ability to not disturb your neighbors or mother nature for those mellow cruises…but also go full hot-rod when the time is right! Check out the end of the video to get an idea of just how awesome the MBRP Active-Exhaust is!
Remove the Rear Fascia Assembly
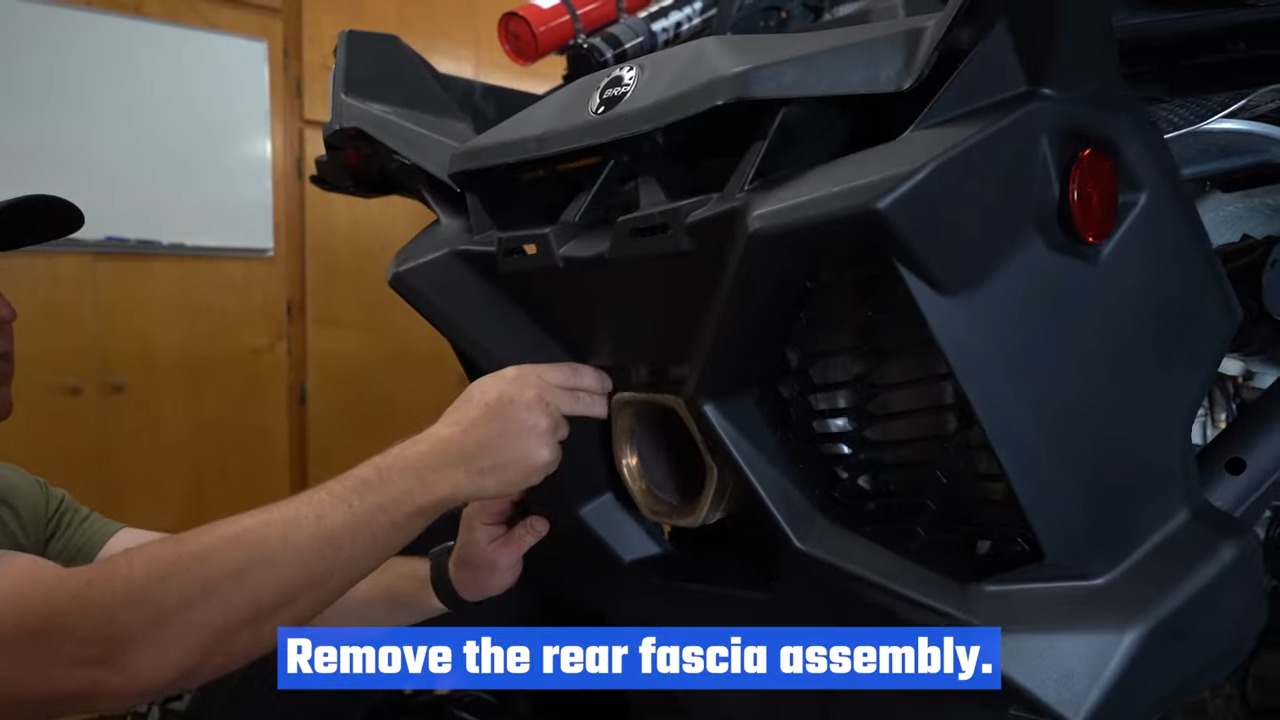
Remove the rear fascia assembly by unscrewing the five screws that hold it together.
Remove the Hardware Securing the Driver Side Muffler Bracket
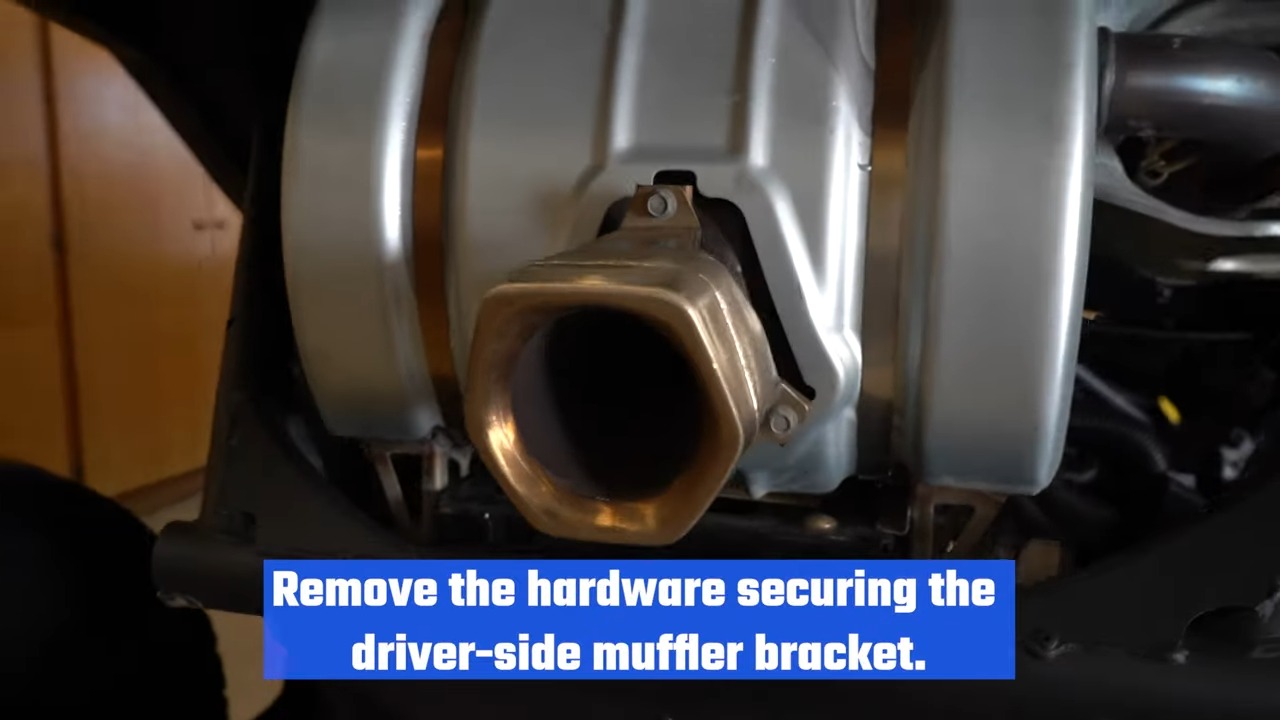
Remove the bolts and nuts that hold the stock muffler's driver-side bracket in place. Keep the hardware since it will be used again.
Loosen the Hardware Securing the Passenger Side Muffler Bracket
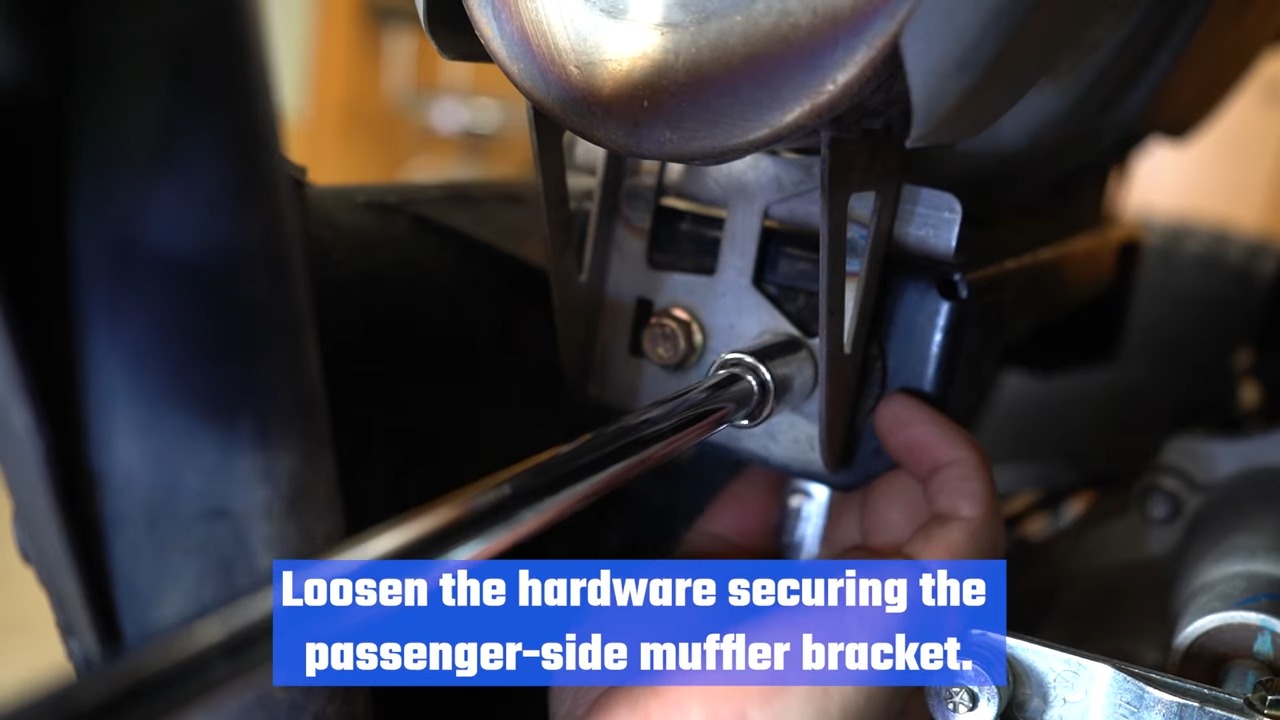
Remove the nuts from the bolts that secure the stock muffler's passenger-side bracket. Allow the bolts to remain in place to support the muffler. Keep the hardware since it will be reused.
Remove the Spring from the Muffler Inlet

Remove the OEM springs from the muffler intake using a spring remover or pick/hook. They will be utilized again during the installation.
Remove the Muffler

Remove the stock muffler by removing the bolts from the passenger side bracket. Keep the hardware as it will be reused.
Install the Heat Shield

Install the Heat Shield to the underside of the rear deck by aligning the holes with the plastic bosses in the middle of the deck and using the Tapping Screws and Lock Washers to secure it.

Place the Muffler Assembly Into Position
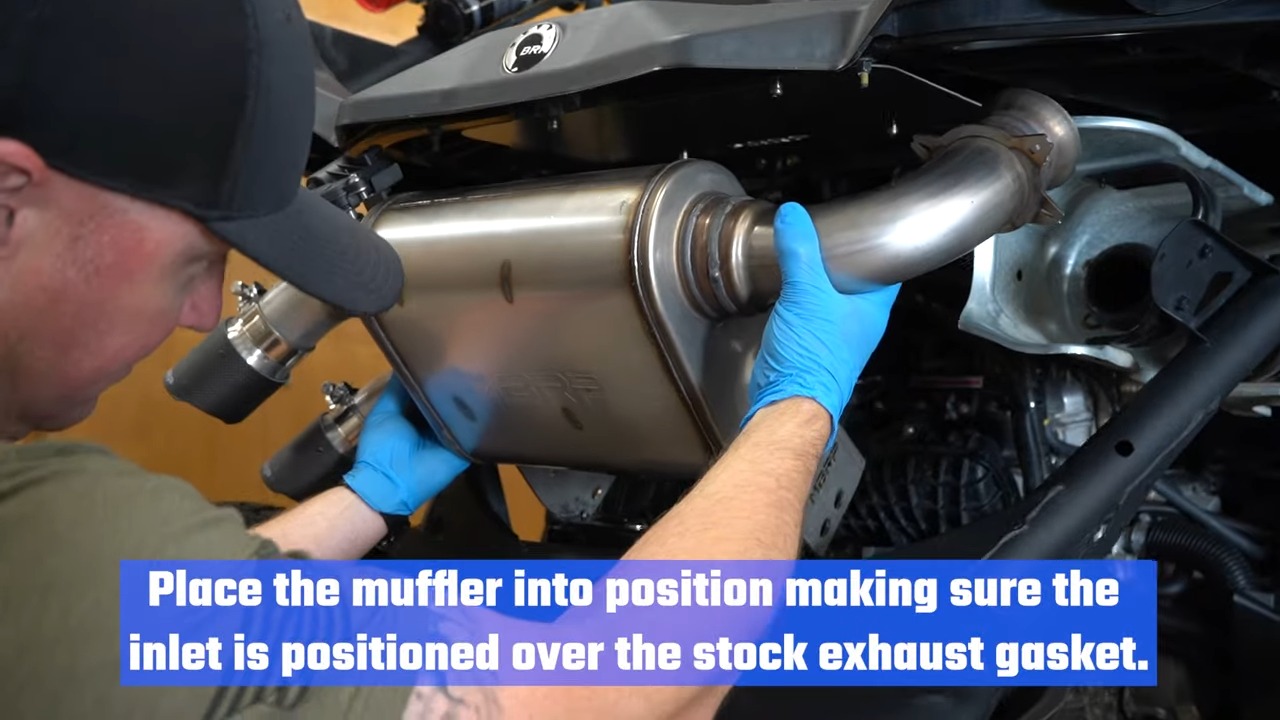
Put the Muffler Assembly in place, then thread the lengthy stock bolts that had been removed through the mounting bracket's passenger-side holes and into the stock mounts. After that, just loosely fasten them with the factory nuts.

After installing the mounting hardware on the passenger side, push the bolts through the mounting holes on the driver's side and loosely tighten them with the factory nuts to secure the Muffler Assembly.

Install exhaust Inlet springs

Use the springs that were previously removed to hold the Muffler Assembly inlet in place over the factory exhaust gasket.
Align the Muffler Assembly

Once the inlet springs are in place, align the Muffler Assembly perpendicular to the car's frame and tighten all bolts completely.
Remove the Passenger Seat

Remove the passenger seat so that you can reach the auxiliary power terminals and route the wire. The valve Switch Assembly is installed into one of the open switch slots in the center dash panel and is wired to both the valve and the auxiliary power terminals. Remove the bolts that hold the seat in place from the front and back frame tubes. Remove the bolts that secure the seat belt's top to the car, then remove the seat.
Remove the Center Console Side Panels
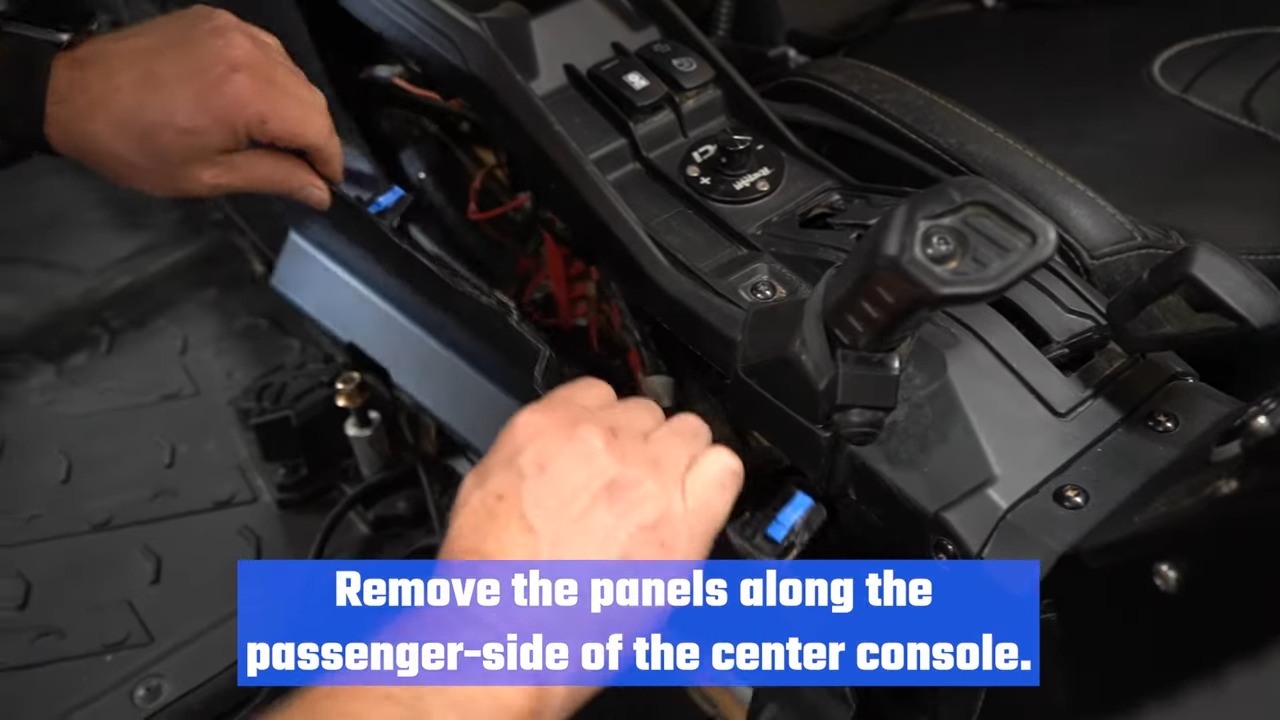
Remove the side panels on the passenger side of the center console.
Install the switch

Install the switch in one of the unused spaces in the dashboard's center. Connect the red and black wire leads to the auxiliary power connections as you route the wires under the center dash and along the passenger side of the center console.

As the bottom terminal is only powered while the ignition is ON, attach the red lead to it. Use Cable Ties to secure the wiring along its path to prevent movement.
Route the Exhaust Valve Wiring

Connect the longer cable to the exhaust valve unit by routing it through the back wall, up, and under the rear deck surface. To keep the cable away from the exhaust system and any moving or sharp car parts, use a Cable Tie.
Test the Exhaust Valve For Proper Operation

Test the exhaust valve for appropriate operation, then reinstall the center console panels and passenger seat.
Cut the Rear Fascia Using the Supplied Template

In order to reattach the rear fascia panel, it must be trimmed to accommodate the new exhaust tips.

Trace the cut lines onto the panel after cutting out the provided Cut Template and aligning it over the rear fascia panel. Trim the plastic panel with caution along the lines you've marked, and then make sure it fits.
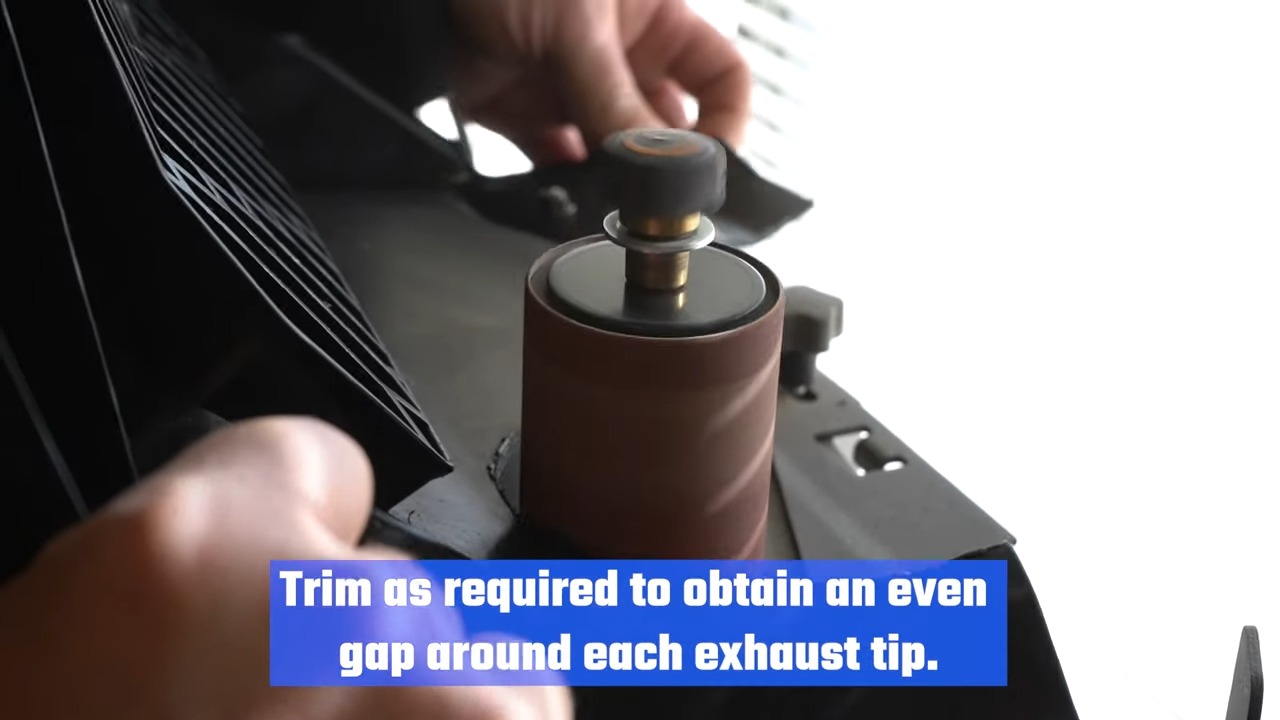
Trim more material as necessary to create a gap that is uniformly spaced around each exhaust point.
Install the MRBP Beauty Plate
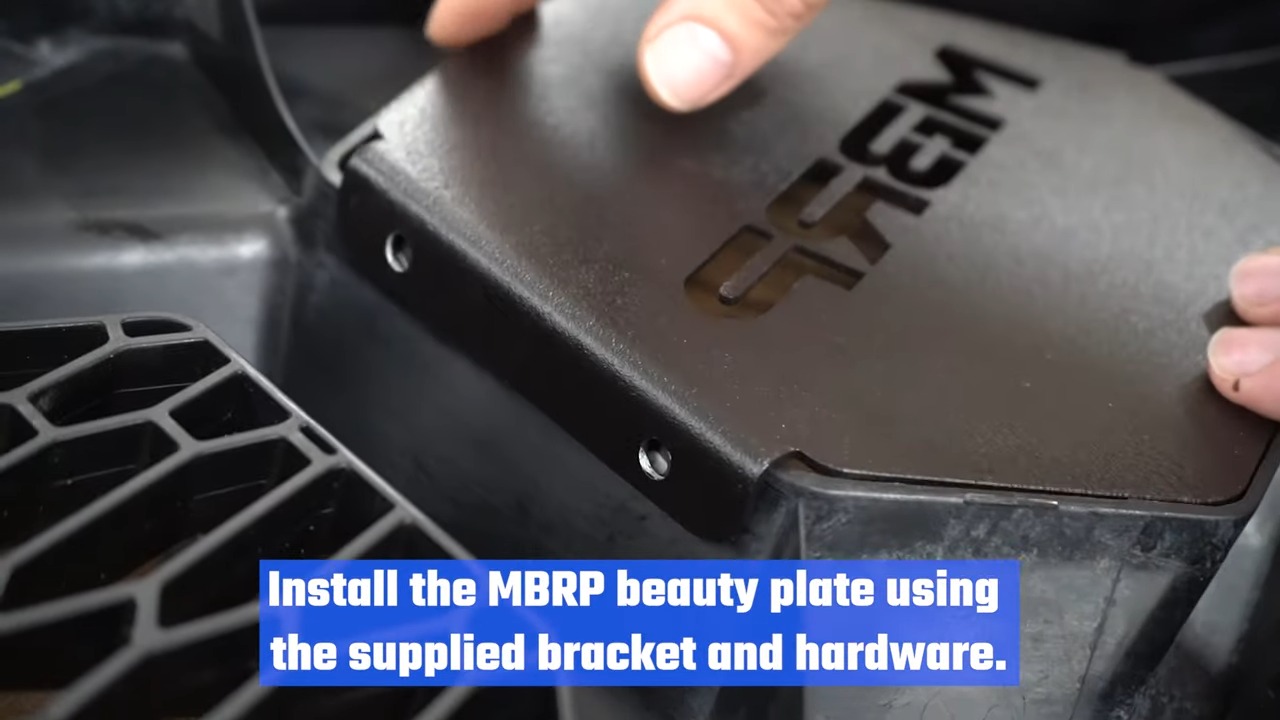
Lastly, install the beauty plate to the rear fascia panel's center aperture. The side tabs of the Logo Plate should be firmly affixed to the inside walls of the aperture when it is placed on the panel's backside.

Make sure the plate is centered before marking the plastic with holes. Then, install the beauty plate with the included hardware after drilling 1/4" holes at the indicated positions.
Reinstall the Rear Fascia Panel

Using the screws that were previously removed, reinstall the rear fascia panel.
Shop MBRP CanAm Exhaust Systems Here


