
Rockford Fosgate RZR Stage 3 Audio System Installation

Rockford Fosgate RZR Stage 3 Audio System Installation

Eric Russell from Rockford Fosgate showed how to install the purpose built Rockford Fosgate RZR Stage 3 audio system. He installed a Stage 3 kit on Polaris 1000 XP High Lifter Edition.
Remove Seats and Disconnect Battery

Start by removing the seats and disconnecting the battery.
Remove Hood and Upper Dash Assembly
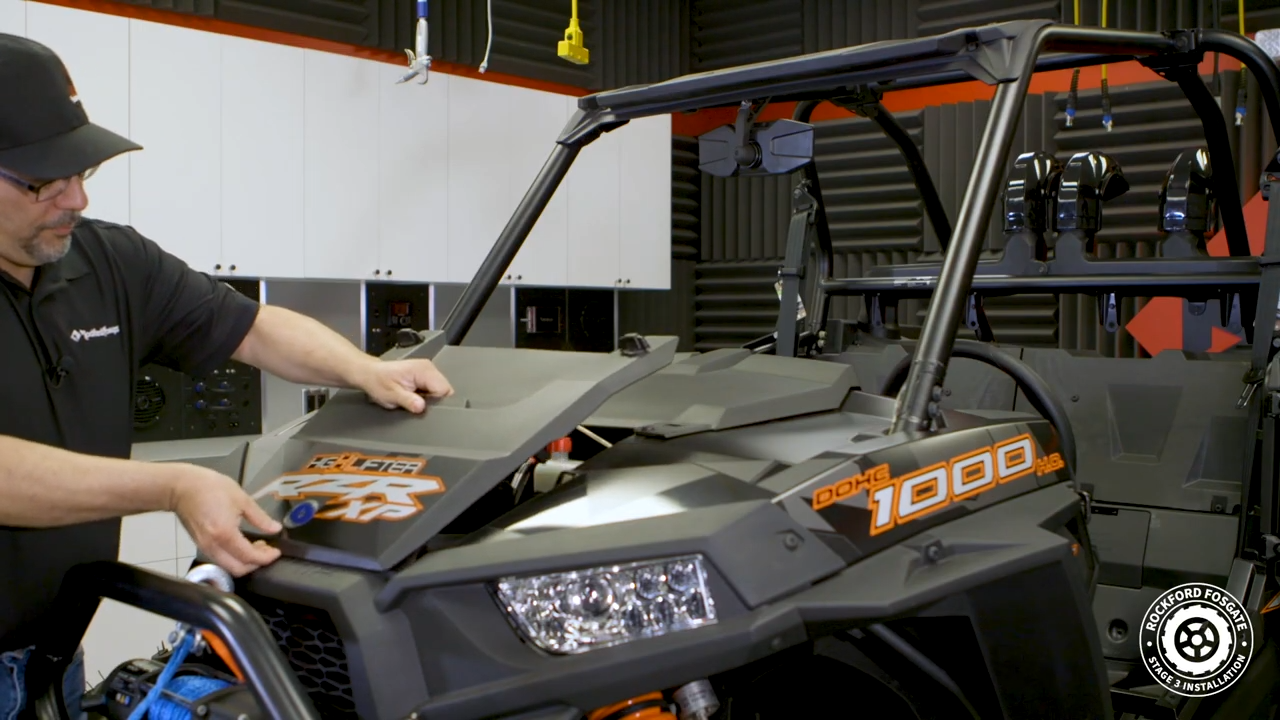
Remove the hood and upper dash assembly. The dash assembly is held in place with two t40 screws. When pulling the panel off, be careful of the metal clips, so you don’t scratch the dash. Go ahead and disconnect all the harnesses making a note of where each harness connects.
Remove the Lower Dashboard

When done with that, remove the lower dash so it's easier to see the radio installation process. First, remove the safety handle then use a t40 to remove the lower pocket. Once all those are removed, go ahead and pull the dash off.

As you probably noticed, when removing the lower dash, two additional t40 screws were hiding that had to be removed. Disconnect the footboard led that will zip tie to an existing harness when removing the lower pocket.
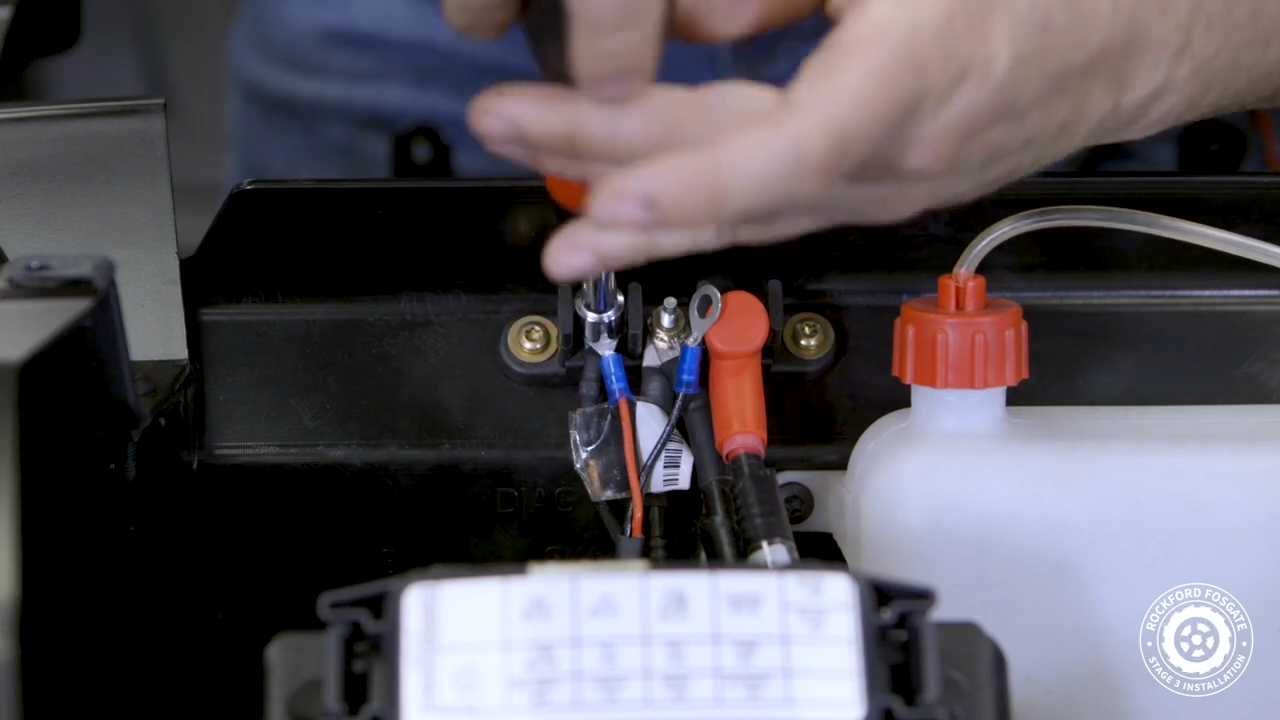
Wiring Harness Installation
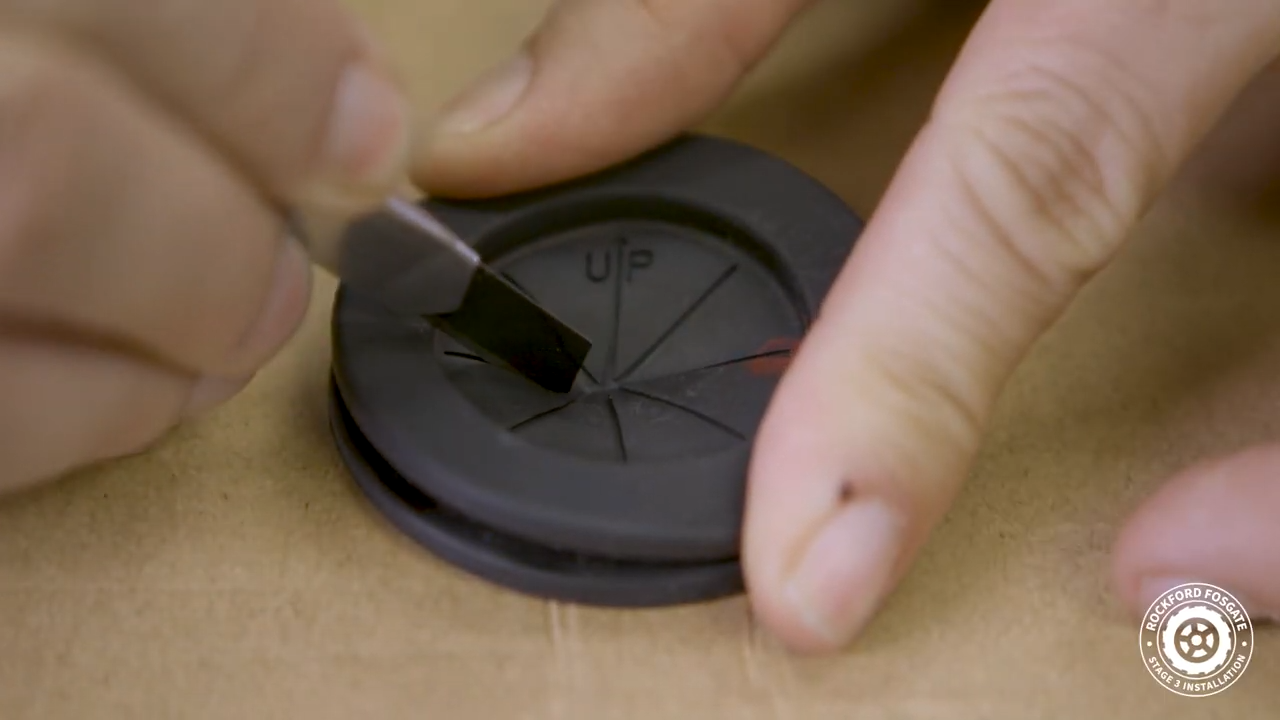
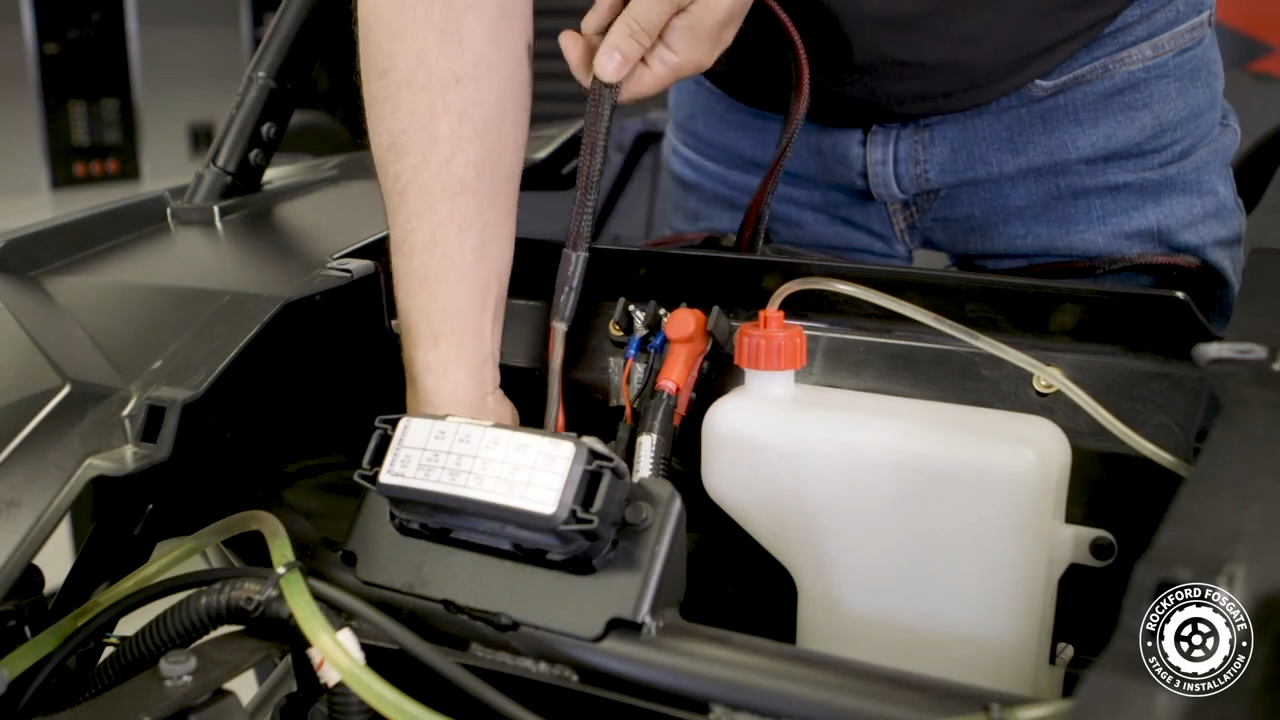
Now get ready to install the wiring harness. To get started, remove the factory gromit. Use an Exacto knife to score through the rubber to make way for cables. Once that is done, replace the gromit. Take the end of the harness with the ring terminals and, from the inside, route them up through the factory gromit to the accessory wiring panel. This terminal strip is just a simple distribution block. There's no wiring behind it. Use a 10-millimeter nut driver to connect the red wire to the accessory terminal and the black wire to the ground terminal.
Disassemble the Interior Panels
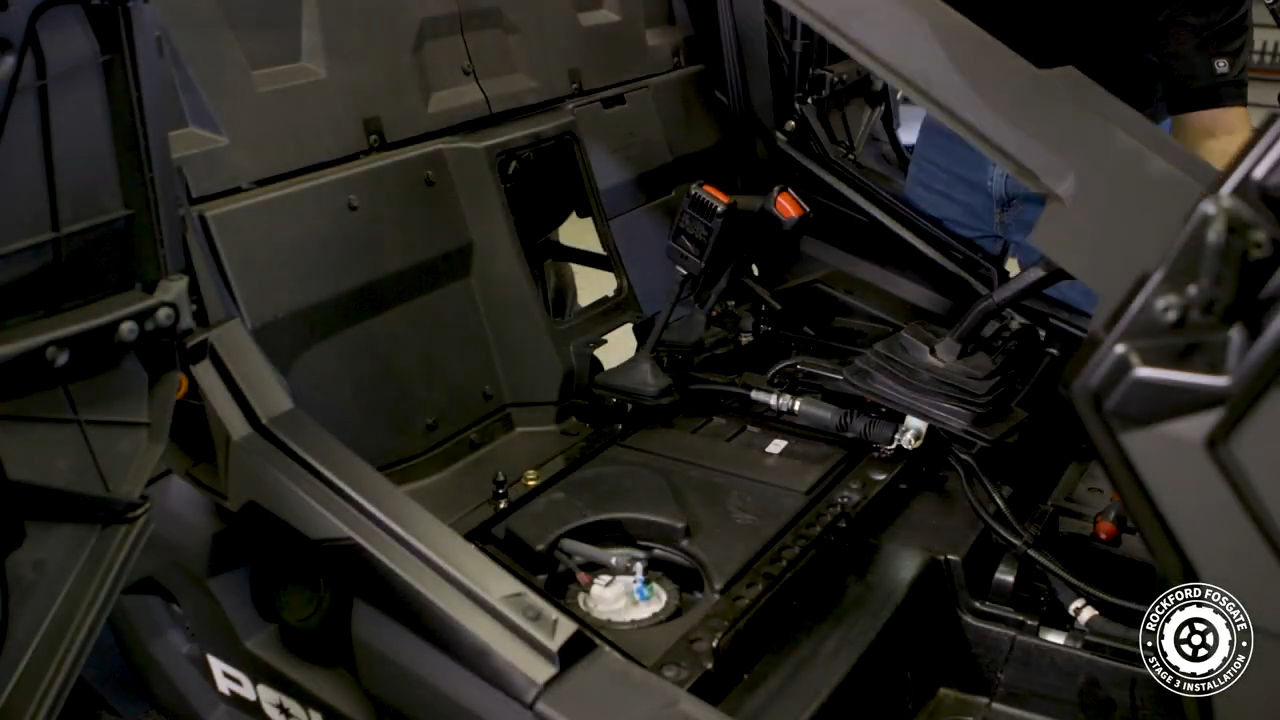
Let’s get ready to disassemble the rest of the vehicle. Go ahead and remove the center tunnel and back access door by removing the three t40 screws and the four pushpins using the Rockford Fosgate removal tool.
Install Power Harness
Now get ready to install the Rockford Fosgate main power harness. Start with the fuse in and run it down the radiator compartment next to that terminal block. Follow the factory wiring down to the center tunnel. Pull the wiring harness through the tunnel back to the battery location. Now be sure to avoid the driveline or any radiator tubing. The wiring harness is long enough to accommodate four-seat RZRs. In two seats RZRs loop the excess cable in the battery storage compartment
Harnesses Through Factory Gromit
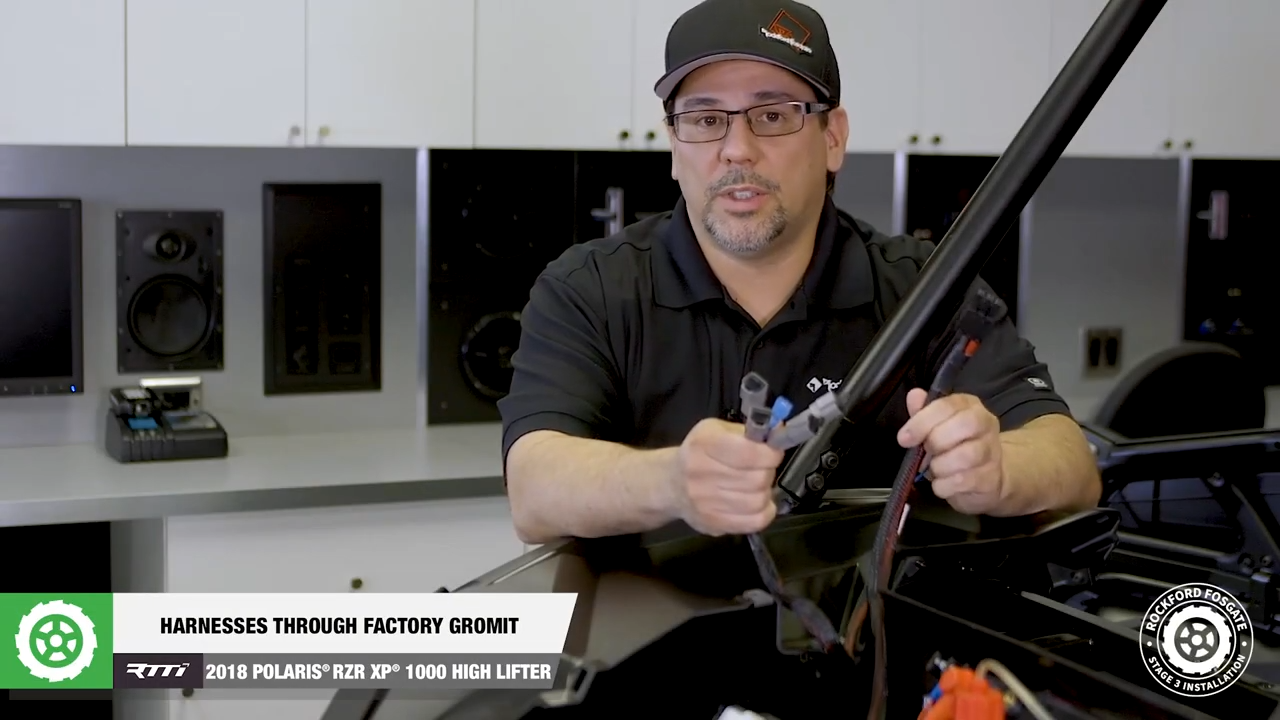
Now get ready to route the Rockford Fosgate power and speaker connectors back through the factory gromit. When pulling the harness through, leave enough slack for any connections that need to be made.
Subwoofer Features
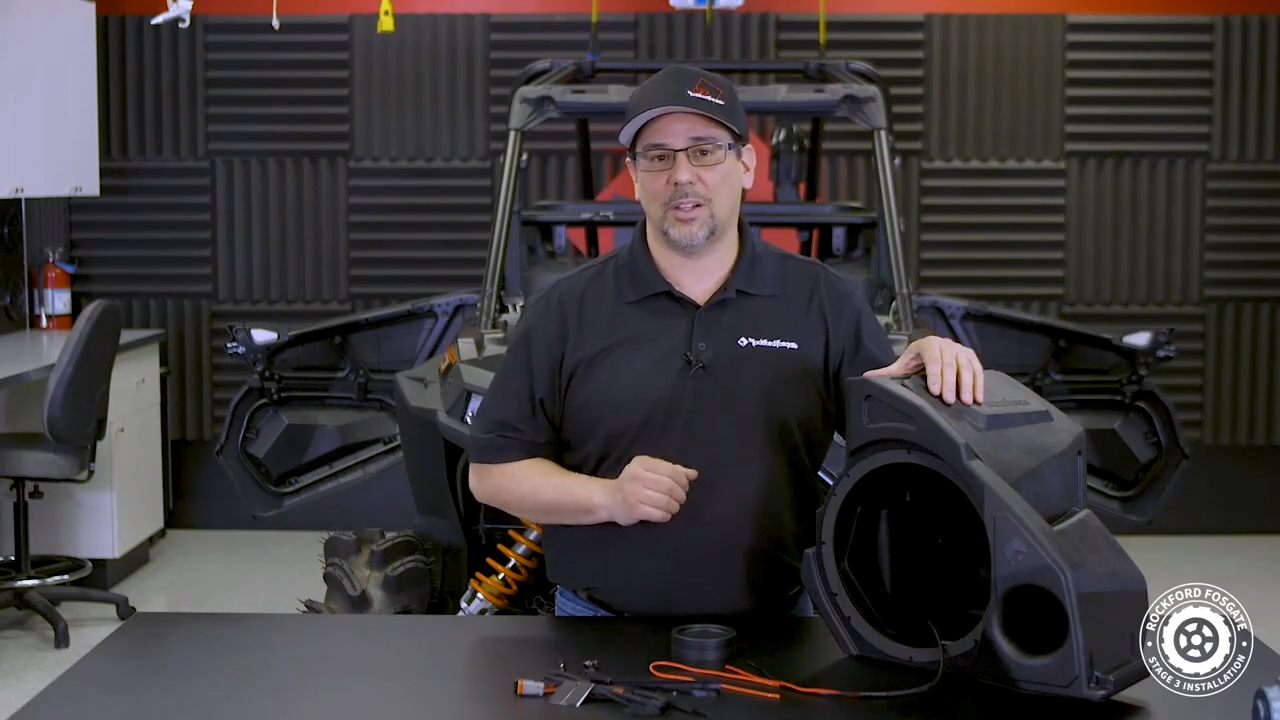
The new subwoofer enclosure is a cool all-new design that's ported for higher bass output. It's also lighter than its predecessor. If you like a sealed box for a tighter bass response or will be submerging the Razr at any point, Rockford has included the port cap that can be secured into place. The enclosure replaces your glove box, so you can reuse two main bolts that attach it. Use the two supplied screws to secure the enclosure to the floorboard. Once you get the subwoofer wired and loaded, mount the enclosure in place, connect the harness and run it to the center of the dash. Note that they also include two foam strips for the lower dash clips that fit the receptacles in front of the enclosure that eliminates vibration while keeping the panel in place.
Install Subwoofer

Now it’s time to get the subwoofer wired and loaded. You'll notice that the model supplied in this kit has two sets of terminals. The two terminals mean it's dual voice coil, but the enclosure only has one set of wires. Use the jumper wire to connect both voice coils together to get it properly configured. Connect Rockford’s enclosure wires to the open terminals of the subwoofer. Red goes to the positive and black goes to negative. Once it's wired load the subwoofer end of the enclosure and align it with the proper mounting holes. Secure it in place using the supplied hardware and allen bit.
Install Lower Speaker Pods
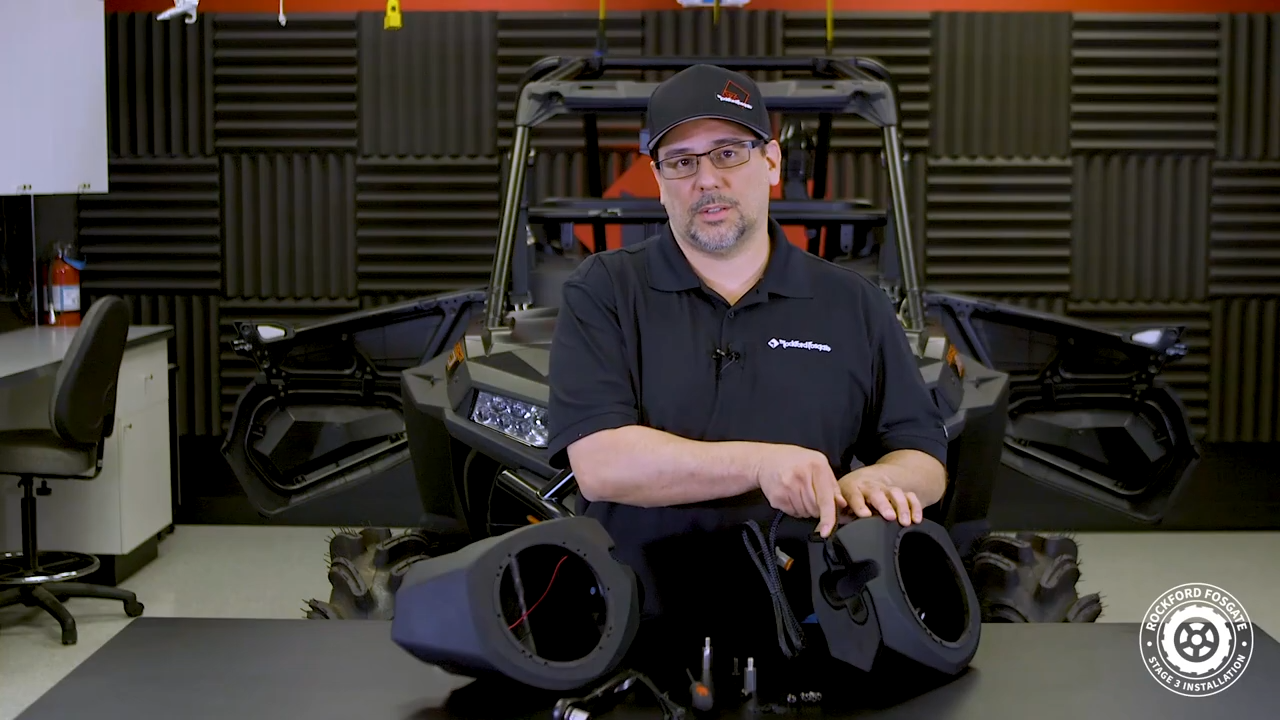
When done with that get ready to install lower speaker pods. You'll notice these have channels built into them. One is for the side subframe and the other is for the wiring harness. Now start off using Rockford’s half-inch socket to remove the lower bolt from the side of the subframe. Insert the threaded standoff to replace the factory bolt. Then use the threaded screw to secure the enclosure to the side of the RZR. Once that's done use the included ball head Allen and secure the enclosure to the bottom floorboard using the supplied hardware. Once done, route the speaker harnesses to the lower pocket and zip tie them in place.
Speaker Installation

Now it’s time to install the speakers. First connect the positive and negative wires to the speaker terminals. You'll notice these are keyed so you can't mix polarity. Using the supplied hardware and included Allen bit use the number one holes in those lower speaker pods to secure the speakers.
Amplifier Plate Installation

Now get ready to install the amplifier kit. You’ll notice that the kit comes with two amplifier plates. The small one is for 2019 and newer RZRs. The big one is for 2014 - 2018 RZRS. The amp plate mounts to the subframe crossbar under the dash. The first thing to do is use a 10 millimeter socket to remove the lower pocket bracket. Then using a 15 millimeter socket and wrench loosen the two steering column bolts that will be used to sandwich the plate into place. Position the plate on to the subframe and reuse the bolt from the lower pocket bracket to secure it into place. Once everything is aligned go ahead and tighten everything down.
Install Amplifier

At this point get ready to mount the amplifier. Now for orientation the Rockford Fosgate logo on the amp should be oriented in the same direction as the diamond “R” logo on the amp plate. First remove the power plug because the main power harness already has one supplied on it. Using the supplied hardware use Rockfrod’s two and a half millimeter allen wrench to secure the amp to the amp plate. Then plug in Rockford’s signal inputs on the driver side. Then the power connector and speaker outputs on the passenger side.
Tune Amplifier

Now that the amplifier is installed, It’s time to tune it. They have the free amp tuning guide that's downloadable here: http://rftech.custhelp.com/app/answers/detail/a_id/1356. You can also download it directly from their product details page at rockfordfosgate.com. Now get ready to make connections between the speakers and amplifier. The first thing to do when you’re up under the dash is grab the radio output harness and amplifier output harness. All of the speaker connections are going to happen at the amp output directly. The front outputs go to the front left and right speakers. Then all you'll need to do is connect the blue wire to turn the amplifier on and off.
Lower Dashboard Installation

Now when that is done get ready to reinstall the lower dash. To get started zip tie the harnesses to the factory wiring bundle that's close to the firewall. This will keep them away from the subwoofer and prevent them from rattling. Now connect the main radio harness and RCA cables to the PMX source unit and snap the dash into place. Now reinstall the upper dash. Reattach all of the harnesses, reconnect the battery, and test the system. Once everything looks good, go ahead and finish reassembling and get the RZR back out on the trails.


