

Where to Lift Your UTV With an AGM Jack: A Safe Lift Point Guide
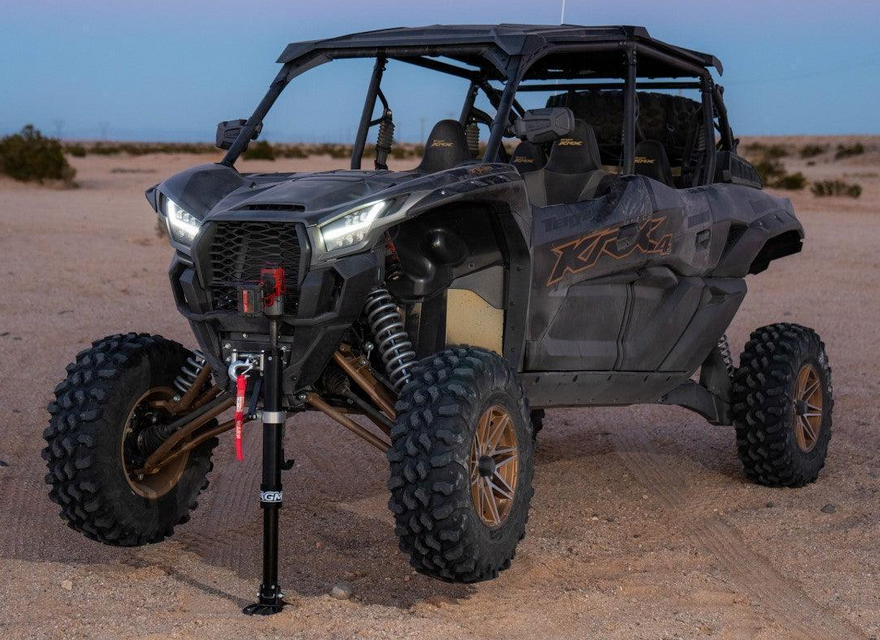
AGM Jacks accommodate the right lift points on your Side by Side, their Scissor Jack and Tube Jack get the job done on the trail!
A flat on the trail is one thing. A flat on the trail when you are not sure where to put the jack is another. Grab the wrong spot on your UTV and you can crack a plastic panel, bend a skid plate, or worse, drop the vehicle mid-repair. The good news is that lifting a Side by Side safely is not complicated once you know what to look for. This is a quick guide from UTV Source on where to lift your UTV, what to avoid, and how AGM Products built its jacks to make the whole thing easier.
The Golden Rule: Lift From Structure
Everything comes down to one idea. Lift from parts of the machine that were built to carry weight. That means strong chassis tubing or stable suspension components, not the pretty stuff bolted to the outside. If a spot flexes, cracks, or was never meant to hold the vehicle up, it does not belong under a jack. AGM Products designed its jacks to interface with these structural points while staying planted on soft or uneven ground, which is exactly where most trail repairs happen.
Chassis Lift Points
Chassis tubing and reinforced frame sections give you the most stable lift points in most situations. This is your go-to. Here is a handy trick from AGM's guide: bolts securing skid plates or rocker panels often mark a chassis tube sitting right behind the panel. So if you see hardware, there is a good chance real structure is nearby. Look for the tube, set the jack under it, and you are working from the strongest part of the machine.
Suspension Lift Points
Many UTVs can also be lifted from suspension components like A-arms, control arms, or trailing arms, as long as you use the correct attachment. The key is picking a stable, level contact point. Avoid steep suspension angles where the jack could slide off under load. Suspension points come in handy when you need to get a single corner up quickly for a tire, and AGM's lift attachments are built to engage these components while cutting down the risk of slipping.
What to Avoid
Just as important as knowing where to lift is knowing where not to. Keep the jack away from:
- Plastic body panels and fenders
- Unsupported skid plates
- Thin sheet metal and brackets
- Tie rods and axles
- Steep angles where the jack could shift or slip
Any of these can bend or fail with the weight of a Side by Side on top of it. When in doubt, go back to the golden rule and find structure.
Handling Common Trail Situations
Where you lift changes a little depending on the mess you are in. A few quick playbooks:
Flat tire on the trail. Park on the flattest ground you can find, put it in park, and chock a tire with rocks or branches so it cannot roll. Lift near the affected wheel using a stable suspension or chassis point. Never put any part of your body under a lifted machine with the wheel off.
Broken part. Set up the lift like a flat tire, then slide a cooler, spare tire, toolbox, or rock under the chassis as a backup support before you work. Trail repairs often mean pushing, pulling, and hammering, and that can knock a machine off a jack. Never trust a jack alone to hold the vehicle during a repair.
Stuck in sand or mud. Lift from a stable point so you can get traction boards, rocks, or branches under the tire. On soft ground, make sure the jack is secure before you lift. When you drive out, ease onto the gas. Spinning the tires just digs you in deeper.
Uneven terrain. Pick the most level lift point available and confirm the base is planted before lifting. Out here, stability beats speed every time. If you can, level and pack the ground first to build a more solid footing.
The Jack Matters as Much as the Lift Point
A perfect lift point does not help much if the jack sinks or tips. That is where AGM Products earns its reputation. Their jacks run a patented GroundLoc wide, dished base designed to stay stable on sand, dirt, and soft terrain, and the VersaLift attachment system helps engage chassis and suspension points securely. Mechanical drive, interchangeable attachments, no hydraulics to leak. It is gear built for the exact conditions where a factory jack quits. AGM offers two main options depending on how you like to work.
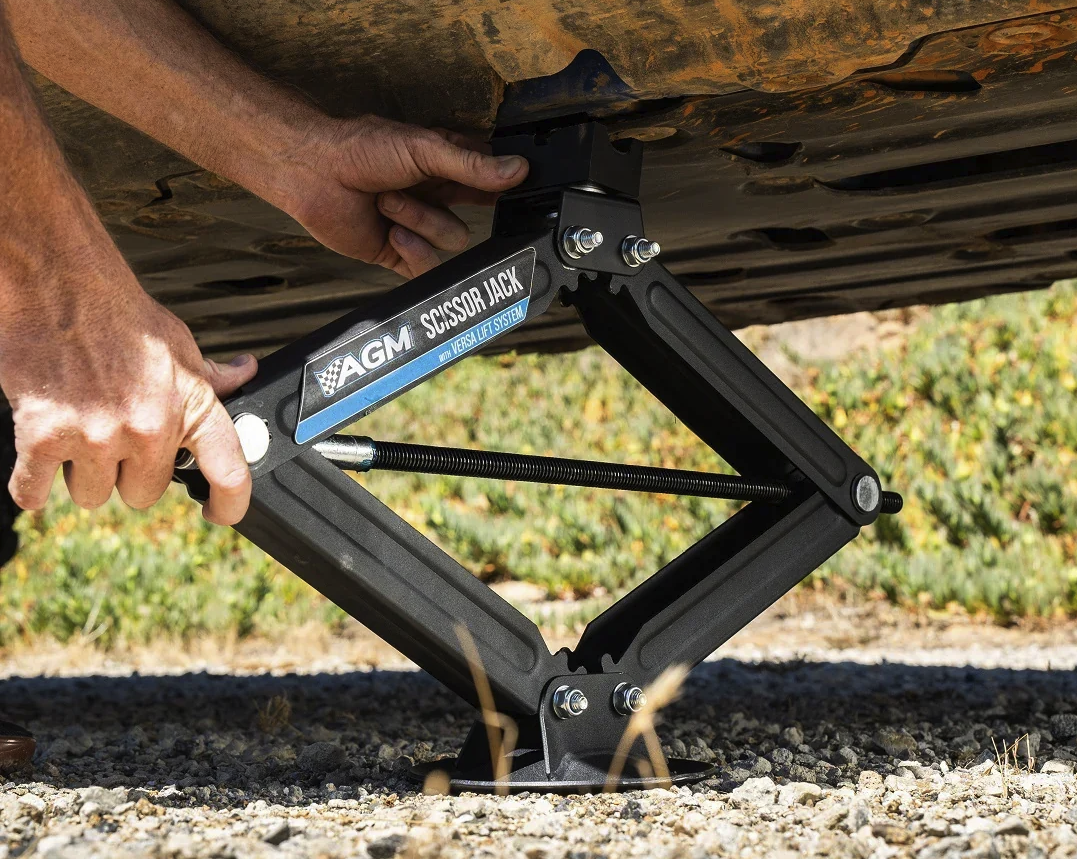
The AGM Scissor Jack
The Scissor Jack is the compact, throw-it-in-the-rig option. It folds down small, rides along without taking over your storage box, and pairs with an impact driver to lift a corner fast. It is a favorite for riders who want a light, no-fuss trail jack that still handles a lifted Side by Side. Set it under a solid chassis or suspension point, hit it with a drill, and you are up.
The AGM Tube Jack (Manual or Electric)
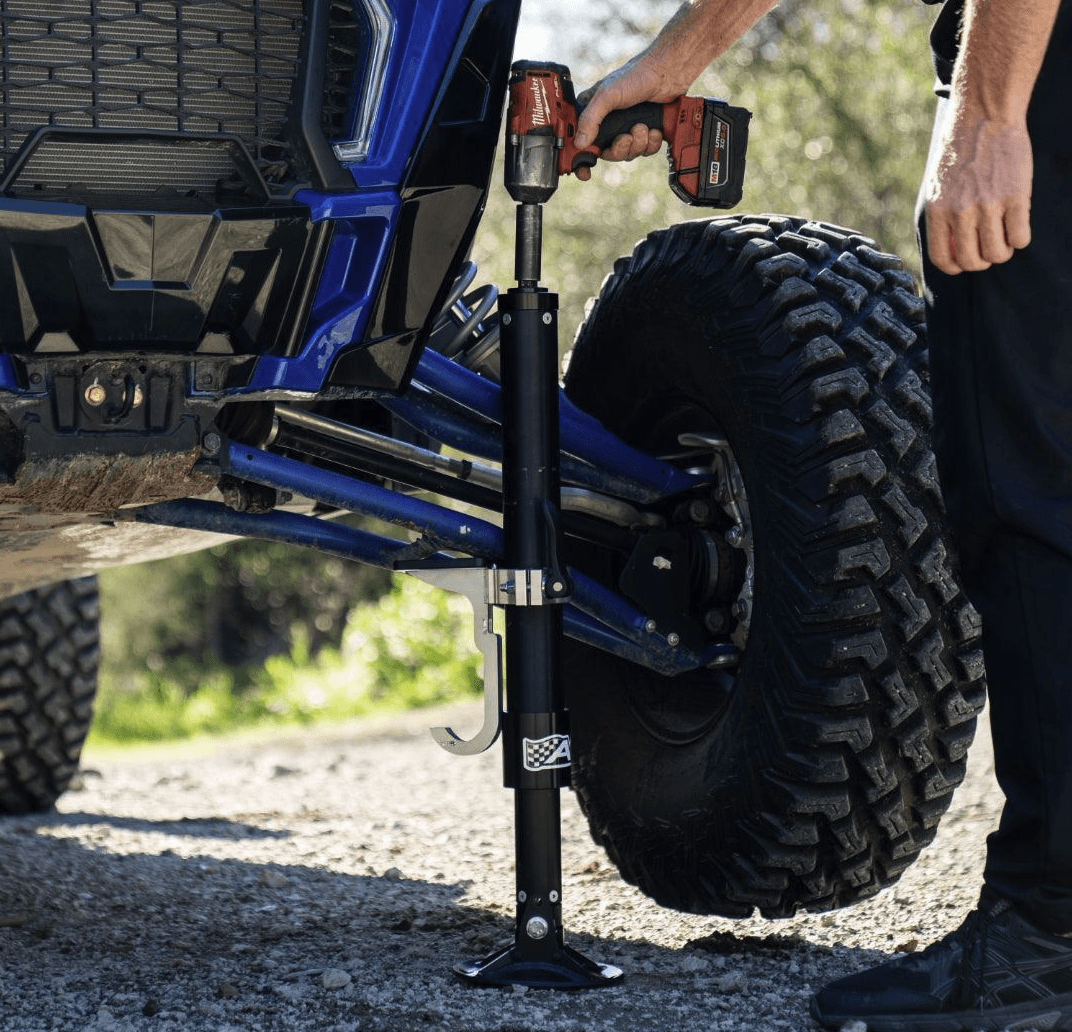
The Tube Jack comes in manual and electric versions, so you can match it to how you like to run. The manual setup is simple and dependable with nothing to charge. The electric version does the lifting for you at the push of a button, which is a big deal when you are working solo or you are already worn out from getting unstuck. Both use the same GroundLoc base and VersaLift attachments, so you get that AGM stability on soft ground either way. Pick manual for simplicity, electric for speed and ease.
Be Ready Before You Need It
The riders who handle breakdowns calmly are the ones who sorted this out ahead of time. Know your lift points, carry a jack built for the terrain, and pack a backup support for repairs. Do that and a flat or a broken part goes from a day-ender to a quick pit stop. UTV Source stocks AGM Products jacks, attachments, and trail gear to get your recovery kit dialed before the next trip out.
Get your rig ready for anything. UTV Source carries the full lineup of AGM Products jacks and trail gear, ready to ship.
Shop AGM Jacks & Gear


