
100K Can-Am Maverick X3 X-RS - The Rebuild

100K Can-Am Maverick X3 X-RS

I cut up my personal car 100K Can-Am build, and I changed everything in that car. It's a 2018 Maverick X3 X RS. It was probably a good idea to change it up and have parts on my personal car that we sell on the website. The cage is entirely different; the suspensions are different some of the interior pieces are different; we've added some new things. With those new things, we've made it where you guys can get this stuff, too; it's all online at UTVsource.com.
Kicking Off The Build
Right off the bat, you may notice a brand new cage. This is a Fabwerxcage, the Baja Aggressor, and I had it done in black. I opted for the balance, the windshield, the roof skin, the door kit, the window nets, and he changed it up.
We've got a different light bracket now, and this house is a KC HiLites Pro 6 LED and they've made some revisions on the lights in the housing and in the lens it's the same light every bit as rad as it was before now it even looks better, so it's pretty cool anodized everything black.

I thought the removable window nets were a cool feature on one of the customers' cars we did, and I wanted that for myself too, so that was one of the options.

I hit something new on this cage is a pull handle versus just pulling on the window net now you can pull on the actual door very nice hardware you tell it shuts reaching you can push on these doors and pull on these doors they don't sag, There's a lightweight door, and this is a heavy-duty door.
Headliner
Something pretty cool about this cage that I thought would be cool is to add a feature that I have in my Raptor right, so I have a 2019 Raptor that's going to SEMA with another company, and one of the features in that truck was my headliner, so we did it in the can-am. It's an interior headliner wrapped in vinyl marine grade vinyl, the same material at PRP seats we actually matched it. You turn it on in there, and it's all on a remote control, its fiber-optic doesn't draw much power. Hence, it's good to be left on it's not going to drain your batteries this is an option on a Rolls-Royce right I can't afford the Rolls-Royce I barely afford my Raptor, and this is like a $15,000 upgrading the rolls which you can get at utvsource.com for next to nothing when you think about it. It's pretty cool the truck brought me a lot of happiness having that, and this is going to bring me a lot of happiness as well so it can bring it you guys some happiness now too.
Boxed “C” Pillar

One of the cool things on the fabrics cage is a boxed c-pillar, the other cool thing on this cage is its double shear on the shock, so the factory shock mounts into very thin sheet metal, the same sheet metal that I grabbed off a cage and ripped in half, so that's a double shear, and that's that standard on this cage which is pretty cool. We did modify mine a little bit.

I added a removable bar to mount my speakers, to mount my shocks that have been redone with the gold package from Shock Therapy, and it also allows me another hook spot, and for the spare originally, I had it down. We added a rear wing with the cage we've got the whips up there.

Radios & Communication
If you come inside, you'll notice we changed a few things up as well, and I'm going to go around. We added a special edition rugged radios communications center; this one's pink this was for cancer awareness, so rugged radios have always been a great partner. We've always had really good sales with and it's on the website supports a lot of things in the industry for a lot of people, and this one I was actually in Mexico on that trip and one of our customers bought a pink one. I traded in my white one, so that was rad that they thought about because I would have bought it, but I was gone a couple of the little features.
Pedal Commander
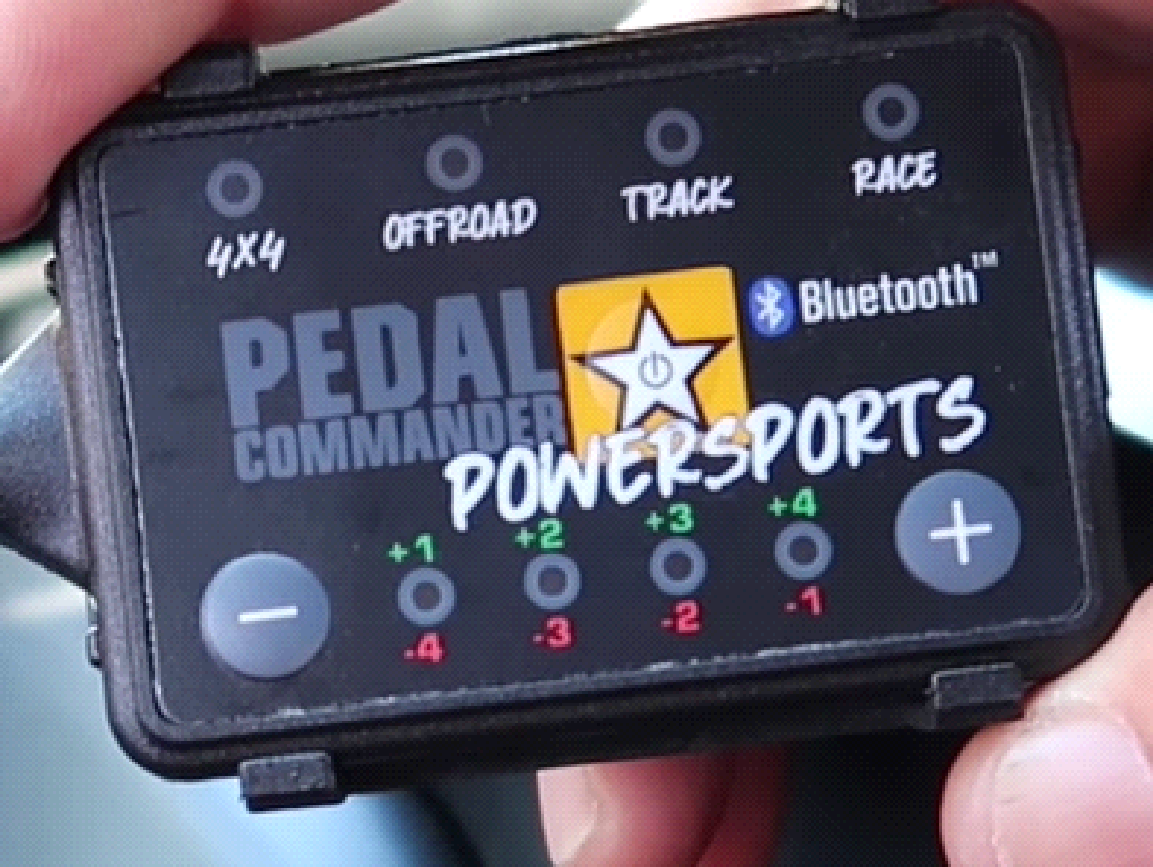
I have this pedal commander in my Raptor. I have it in all my other vehicles basically, what this little device does right here is it takes the impulse from the throttle and speeds it up to the computer system all these cars are drive-by-wire. At the OEM, the easiest way to explain is if you're in your car. You get the gas there's a long pause and it kind of kicks up and goes you barely touch your gas pedal it's already there it feels like you've added horsepower. Still, you have it, so basically with the pedal commander system, I've removed the massive delay that the OEM market or industry is put into the course. They do that because some people like barely hit the gas not meaning to and they don't want the car to lunch for it well now if you barely hit the gas the car's going to go there's no hesitation, so that's pretty rad I got it in all my cars I love.
PRP Seats
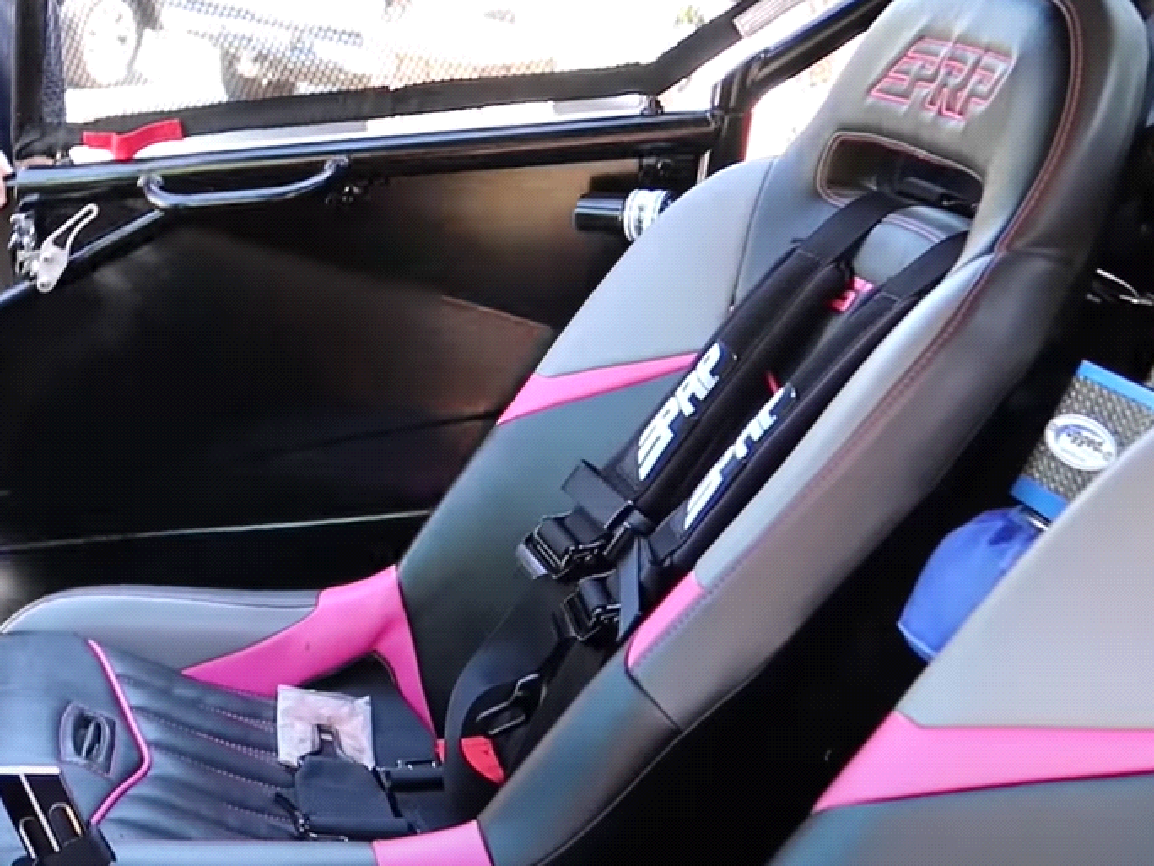
We still have the PRP seats that are heated. With custom stitching them I did change out the harnesses, I went to a 5.3X2 meaning 5.3 inches in your waist, 2 inches in your neck. I'm a small guy these are tight little cars I don't need a big harness in here we still have the rugged radios bumper system and other than that we didn't do too much on the inside.

Windshield
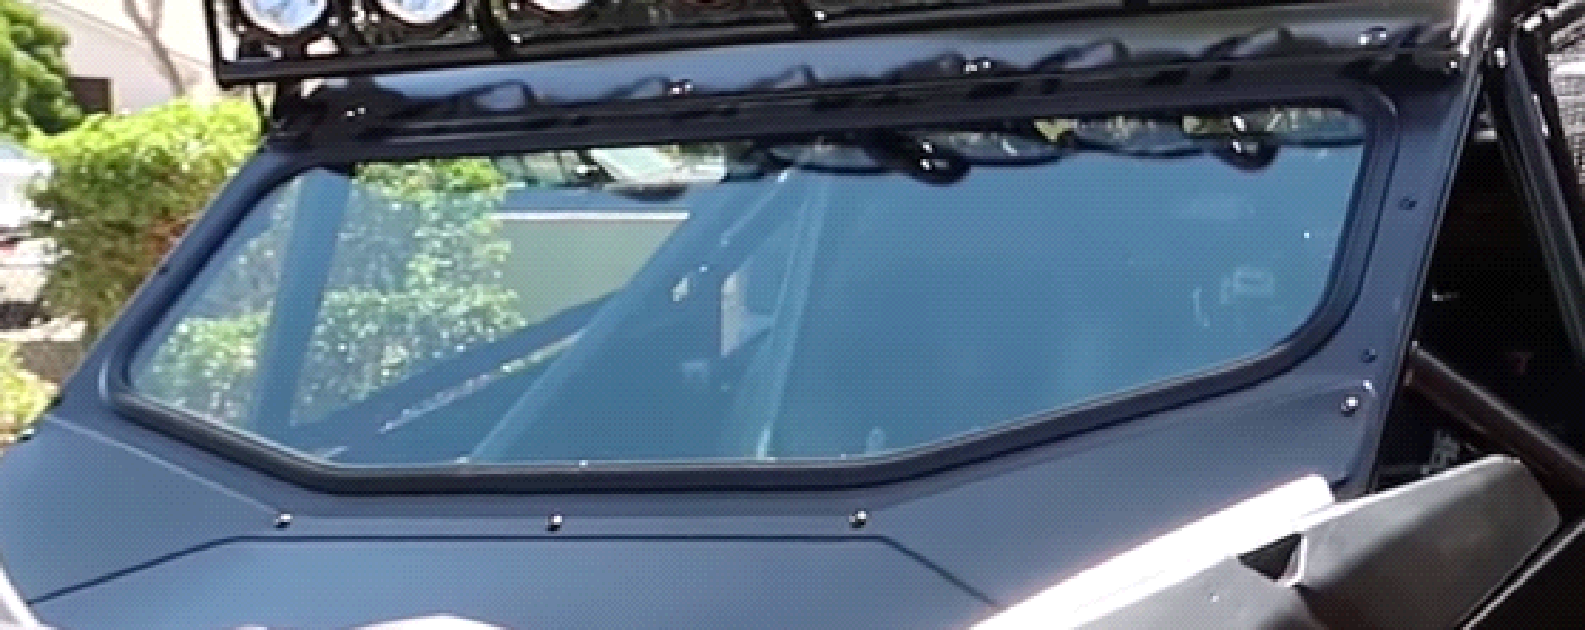
The front windshield is removable now where on the other car wasn't removable, so if I go to the dunes or I'm getting hot I can push this window out with just a few screws, and there's no ugly tab sticking out of the car, so that's cool.
Roof Rack

We now have a removable rack, and instead of coming into the car where I had water collecting it now, it bolts through, and it's been a hundred times these are getting on and off, so we thought that one out and it's on and off it's simple.
Back Half

We blacked out everything on the back half before this was all bare I'll give you guys a sneak peek inside. This back half weighs about maybe 15 pounds. It's not a structural component of the car other than the fact that it holds up a spare tire. That's it, but it also houses a few things. I have the captain's choice exhaust system from Evo. It's a stage 3 kit in here. I did modify it, it comes out the side panel, but we have a heat shield on top of that.
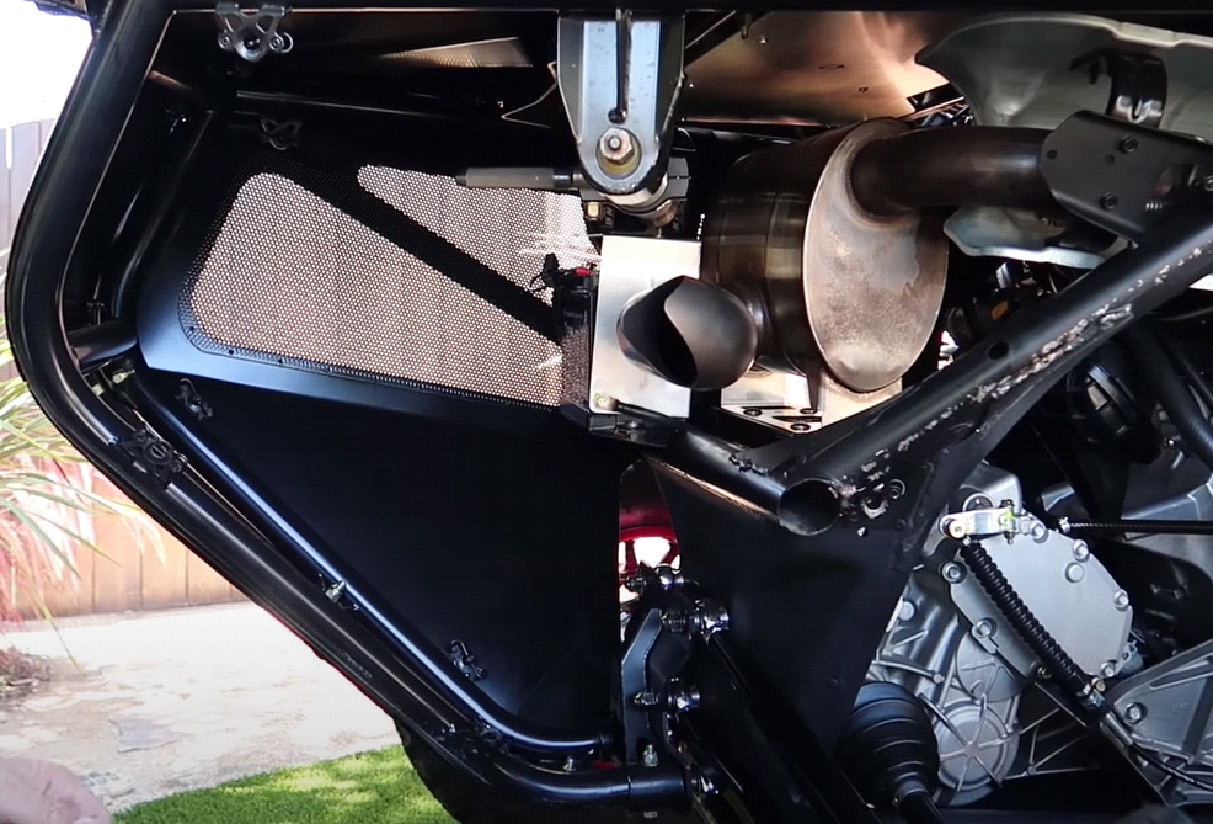
There is room in here for storage, but again this is made to hold up the spare tire it's probably four inches out further than standard cages that come in and tie into the rear radius rod plates they're about right here some of them come out to here mine's just a little bit further out. Still, it's all bolt in, so it's captured on a Geiser radius rod plate we made these bongs it's caught in it unbolts off the factory points up here nothing crazy it's just done extremely clean.
Dual Battery System

I have a secondary battery system in this car, a lot of people asked all those KMZ they get you'll drain those batteries, well I have an upgraded battery inside the car an added battery back here everything's in series with a shut-off or a kill switch, so most of the electronics run off this battery. I did that we hired uh my buddy Eric at hardware performance to wired he's a wiring guru, and the electronics go through here, so if I have a problem or I'm overdrawing the car, I can always start my car. My communications are always on that battery as well.
ZRP Radius Rods

We changed the suspension out on this car, so I went with the high clearance ZRP machined radius rocket a couple of reasons
- They look amazing
- The price point
- They come completely adjusted
So I pulled them out of the box, and I bolted it. It's that simple you can't beat it I mean bang for the buck there are the ones to get. I was putting it on all of our customer's cars; it was like this is too easy. I hit the easy button also, and with that easy button came an excellent purchase at a good value, and you can't go wrong with them, and they work with every trailing arm out there, so that being said the suspensions been changed out.
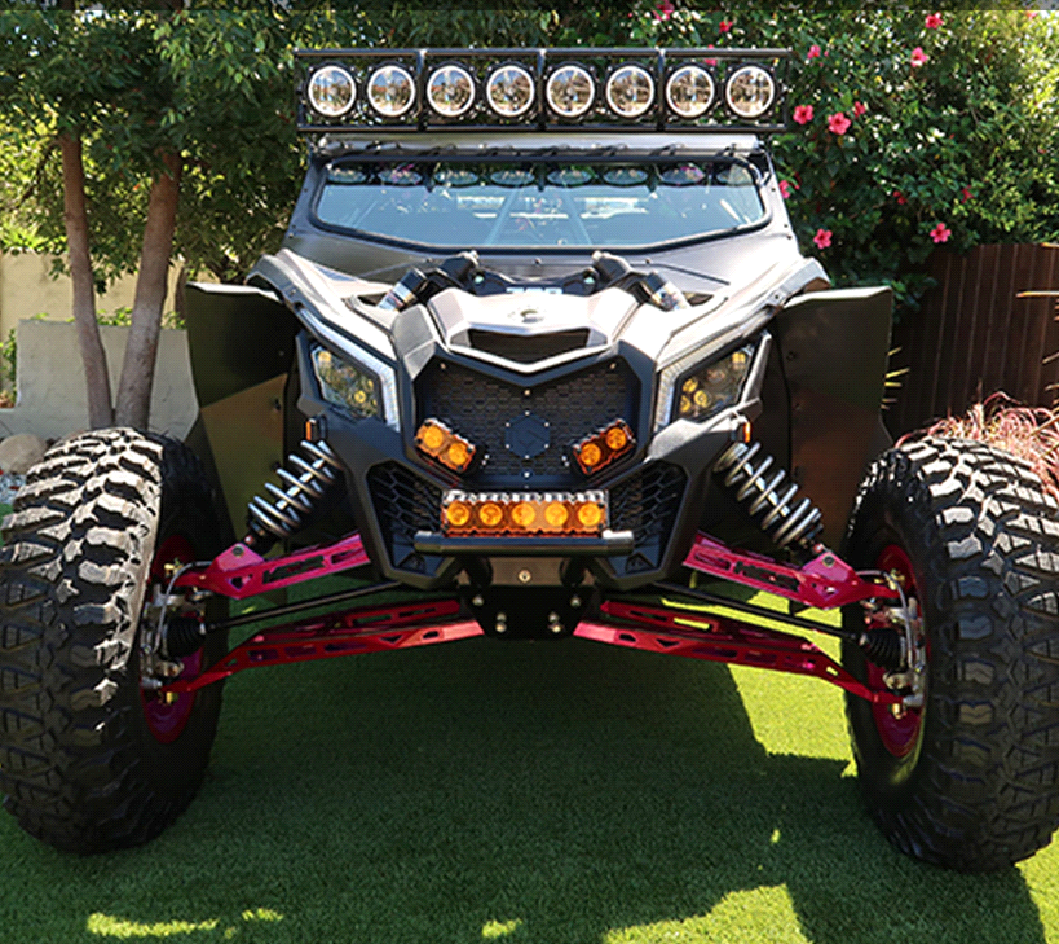
HCR Suspension Elite Kit

We had the TT spec Geiser kit, which was awesome, but again it's at an extremely high price point, and this on the other side is at the lower side of the price point. It's still TIG welded, and the craftsmanship on the arms is insane, so you can't go wrong there, so this is the HCR elite kit, and if you look at the trailing arm, its pocketed out. Hence, it's a little bit lighter than their dual sport kit it's every bit as strong you can see all the internal gusseting and all the plate work dick internalized or internally going on everything's overlay plated it's powder-coated it's actually a dual-stage powder coat it's alien silver with a lollipop raspberry translucent over it.
It got a trick powder coat job it's all black lined in powder coat and then shot pink which is pretty cool so the guys at HCR they work with some pretty good powder coaters, and they hooked it up, and this has exceeded my expectations so what's really cool about the HCR kit is one of the reasons why? It's at a good price point you retain the factory hardware out of your factory arms; everything pushes out of your existing kit and into this kit, so that means the accessibility of replacing those parts is as simple as going to your can-am dealer and buying new joints.
Ball Joint System

To the front, we changed a few things I should say I opted out for a few things. I went with the Keller ball joint system. Hence, if you're not familiar with the Keller ball joint system, it's a rebuildable adjustable ball joint, so when that ball joint starts to get slop and to play it, I can loosen the bolt the capture nut and adjust the Allen head screw. It sets down on top of the ball joint, and it takes the slop in the playout of that so you can grease them rebuild them. I guess a lot of the races have been using I've never used them so I'm going to try them out see what all the fuss is about again you can order those through us as well. They come with the boots unlike other companies, and what's really cool about that is some of those boots are on backorder I got this in a couple of days it sounds pretty cool.
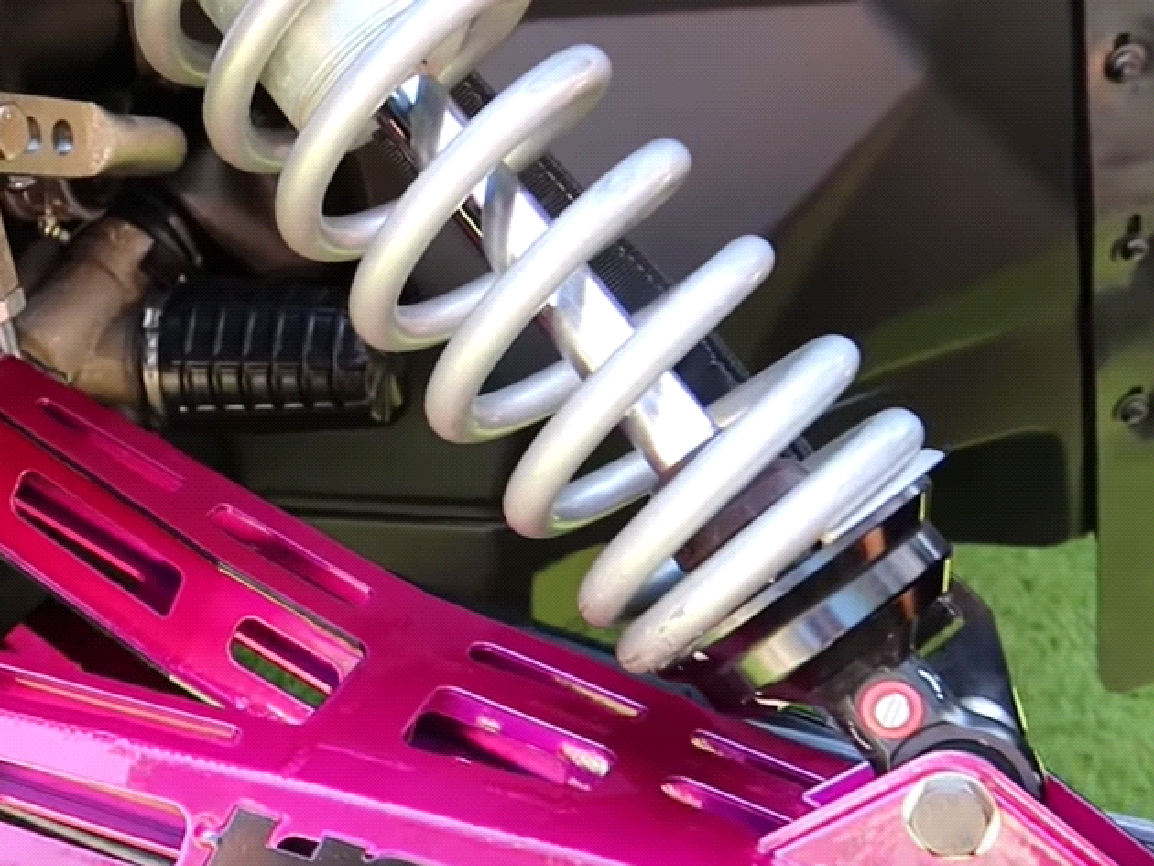
Shocks
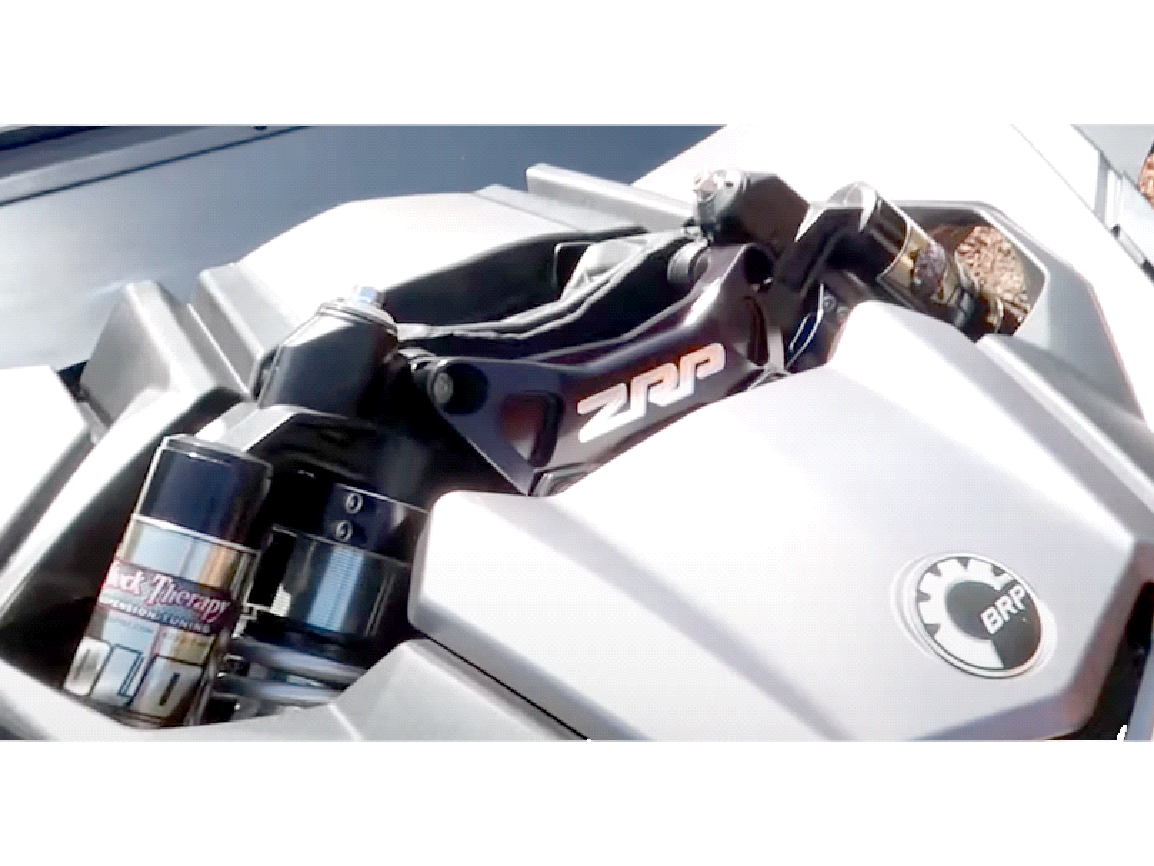
We did add the ZRP machined shock tower brace for a couple of reasons. I wanted it to match and have a theme going on this car, machined parts, and very nicely built parts on the car, not over-the-top parts. This brace is affordable, like everything from ZRP is pretty much affordable. The fit and finish on it are insane you can see the beautiful tool pass in there everything bolted on this core extremely well we didn't change the shocks at all because they're amazing. This is a shock therapy Gold Package. It's insane, and we are still running the limit strap kit because it serves a few purposes: It takes the clunk out too I can limit my suspension, we kept the shock therapy front sway bar kit we did revise it. it's a different sway bar a little shorter, and new rod ends on it, so hopefully, that helps out with a few things as well.
Bolt Kit

There are no factory bolts on this car anymore in the a-arms, in the bulkhead, in the radius rod, or the trailing arms or shock mount everything now has been swapped over in the kits available. It'll be on the site soon, what it does is it takes all the factory hardware. It's shanked properly so meaning the shoulder on the bolt is the correct length instead of writing on threads, so when I was tearing my car apart I found about I think about four or five bad bolts are about to break in half especially the pinch bolt on the loader arm off the hub wasn't shanked properly. It was about to break in half, well if you lose that you lose your lower arm another bolt that was about to break off, the upper rear a-arm bolt and the lower rear a-arm bolt. It wrote on the threads because it didn't have a properly shanked bolt on it so this kit eliminates that it's a great value considering when I took apart my car how bad it really was and until you take apart your car and look for yourselves, you'll find out when you find out hit us up at utvsource.com we've got your handle easy.
Bolt Markings

If a few of you guys are probably asking what are these yellow dots all over the car well guys, that's a paint marker. I do that after I lock down a bolt in the nut, I dab it with that paint and visually and I'm done with a run I can track over my car and if that paint daf or that paint drip has broken the bolt and the nut are loose. Hence, it's an easy early-warning detection without putting a wrench on stuff to tighten it down. I know it hasn't moved when it breaks; it's moved to fix it. A lot of the racers do that stuff, and this is how I prep my cars. It's been like that for a long time, and now I do this on all the UTV source cars.
Alright guys, so that's it on the rebuild of the can-am. I'm going to add a few more things to it as we continue this build we're going to be changing out the wheels here soon. Here we're going to test out a set of those Packard performance ultra-light wheels. So once I get those on it's on, and I think the first trip in this car is going to be probably camp Razer so I've got a few things to go back over on the car and it should be ready enough to go plan.
Follow us on Youtube and Instagram to stay updated. We do have an affiliate program that you can benefit from. See you soon.


